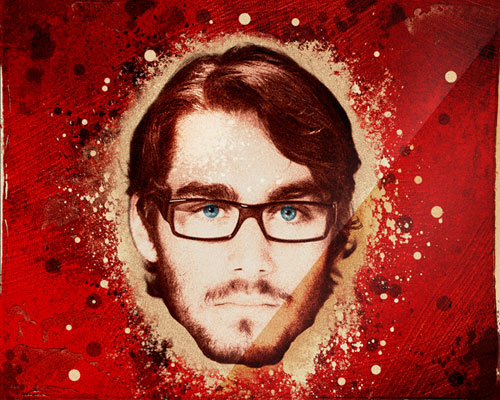
Final Image Preview
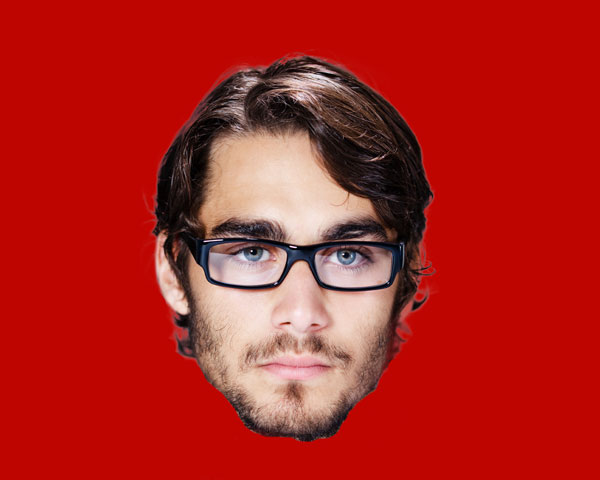
Start working by creating a new document (Ctrl+N) in Adobe Photoshop CS5 with the size 1280px by 1024px(RGB color mode) at a resolution of 72 pixels/inch. Use the Paint Bucket Tool (G) to fill with #BE0500 color the new background layer.

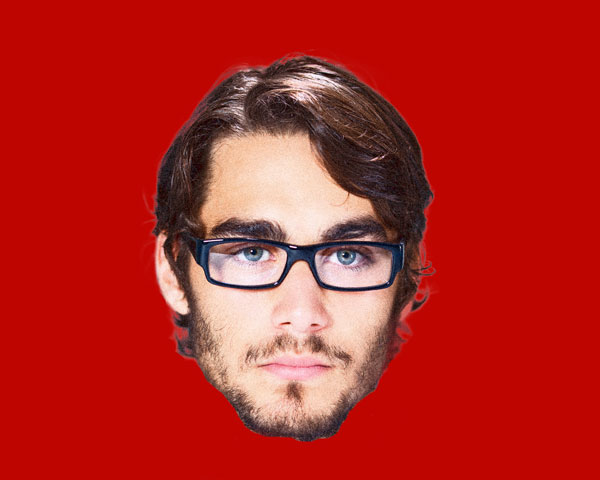
Find a stock photo, I used this photo from Shutterstock. I would like to thank the author of this photo, or if you prefer, you can substitute similar image of your own.
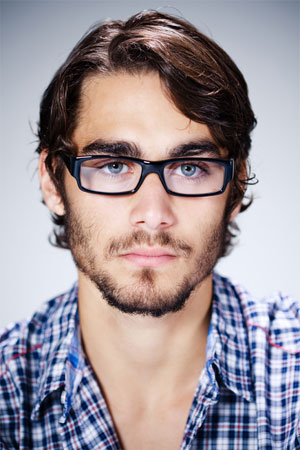
Remove the background using your favorite tools like Pen Tool (P), Magic Wand Tool (W), Magnetic Lasso (L) or even a simple Filter>Extract and insert it on a new layer in our main document.
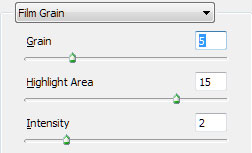
Apply for the man’s layer the next filter: Filter>Filter Gallery>Film Grain.
We’ve got the next result:
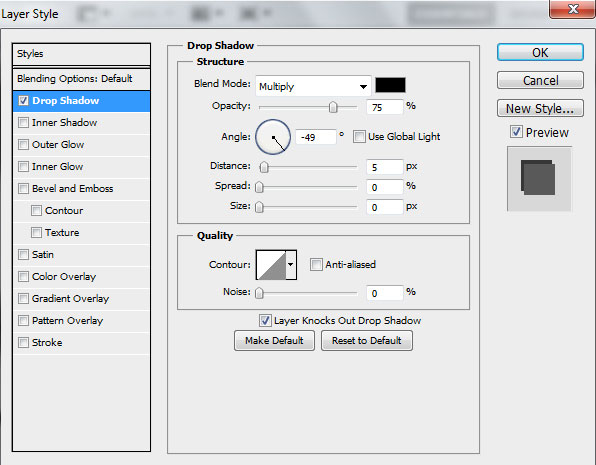
Desaturate the man’s layer using CTRL+SHIFT+U shortcut and click on Add a layer style icon from bottom part of the Layers panel and select Drop Shadow.
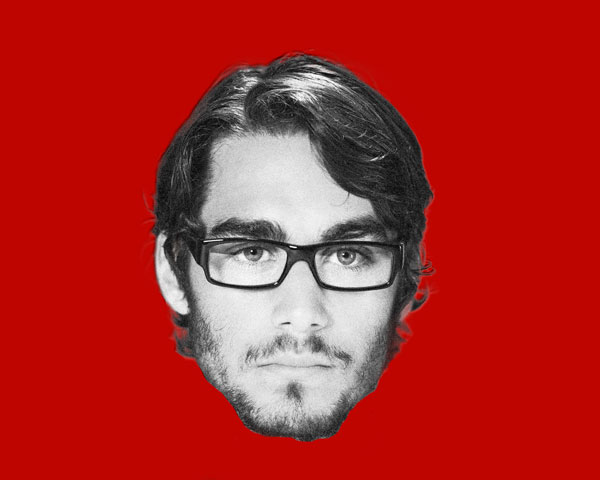
We’ve got the next result:
Next step we’ll download sets of brushes for Adobe Photoshop, named: c130_splatter ,Old_paper_brushes_by_Annette29 and Seu_Davi. On a new layer we’ll select the next brush from Seu_Davi set, change the Foreground color to black color and set the Opacity to 15% in Options bar.
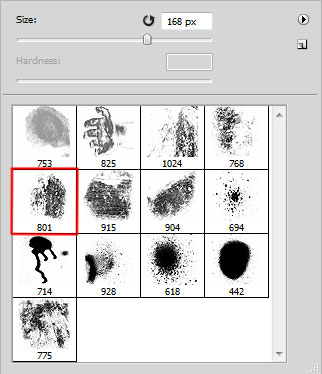
Paint with this brush to make darker the man’s hair edges.
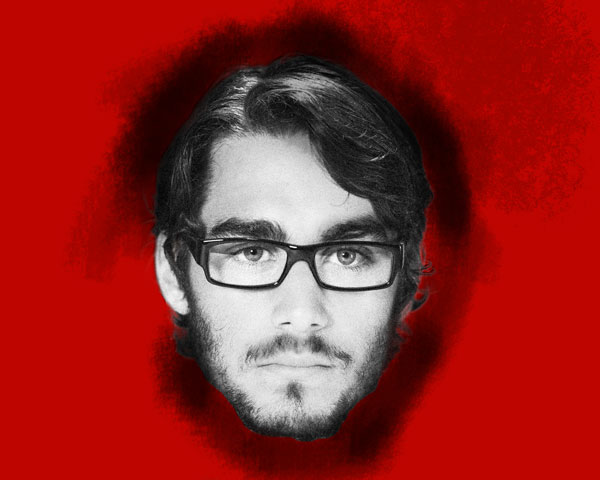
Let’s create a clipping mask to make the content of the layer containing the brushes only visible within the content of the man’s layer. Hold down Alt (Windows) or Option (Mac OS) and click between the brush’s layers and the man’s layer (on the Layers panel).

We’ve got the next result:

Create a new layer and apply here the Paint Bucket Tool (G) to fill it with #3A0D05 color.

Let’s create another clipping mask to make the content of the layer containing the #3A0D05 color only visible within the content of the man’s layer. Hold down Alt (Windows) or Option (Mac OS) and click between layers (on the Layers panel).

Set the Blending mode for this layer to Color.

Click Create new fill or adjustment layer from bottom part of the Layers panel and click to Curves to adjust the curve shape as shown to make a little color corrections.
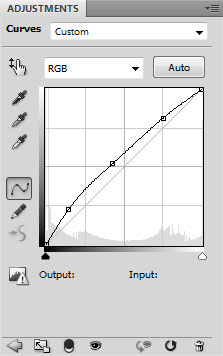
We’ve got the next result:
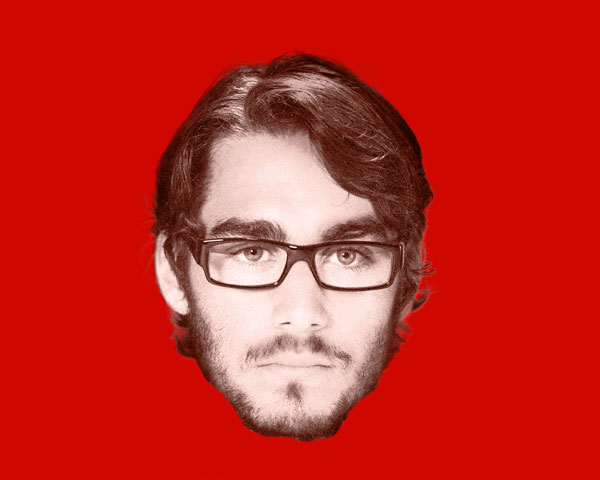
Hold down Alt (Windows) or Option (Mac OS) and click between layers in the Layers panel to create aclipping mask.
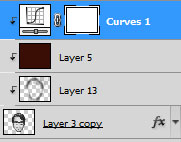
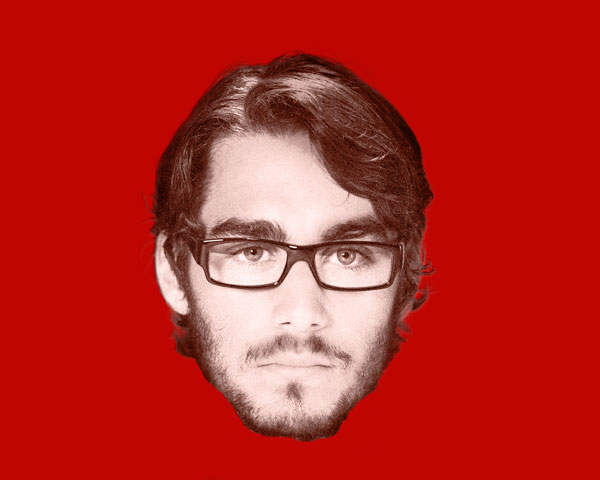
We’ve got the next result:
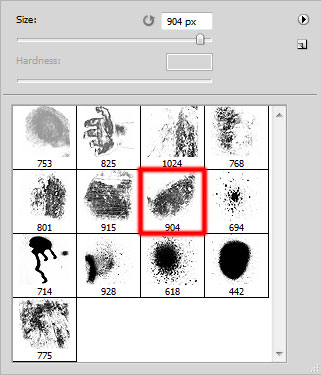
On the next new layer we’ll use the next brush from Seu_Davi set of black color (Opacity 20-40%).
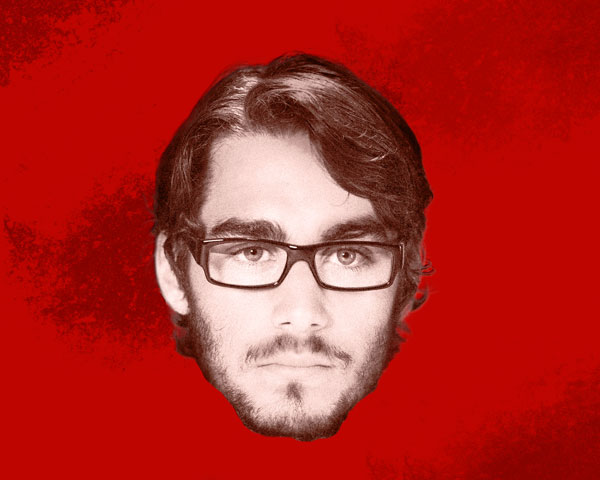
Use this brush to add some brushstrokes as shown. This layer needs to be placed under the man’s layer.
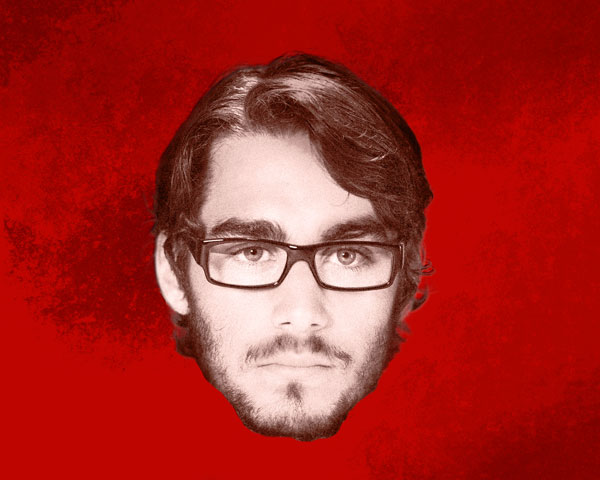
Create a new layer and use the same brush to add another brushstrokes as shown. The brush are of blackcolor (Opacity 5-10%). Place the layer under the man’s one too.
Choose for the next new layer the Flat Curve Thin Stiff brush of black color.
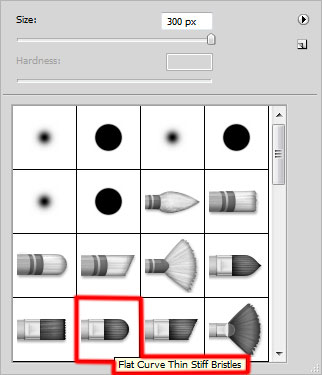
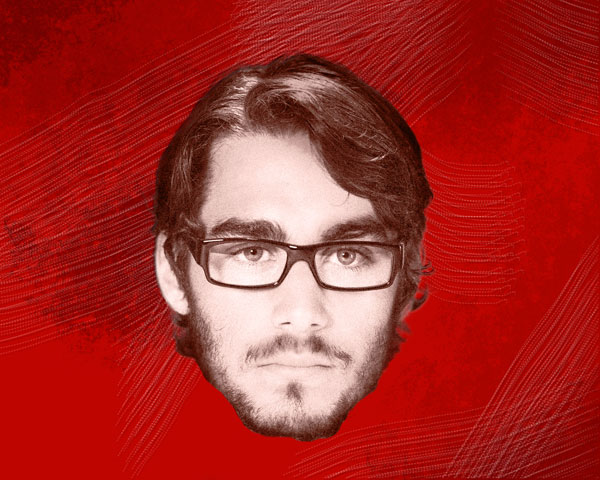
Use this brush to paint the background as shown and place this layer under the man’s layer too.
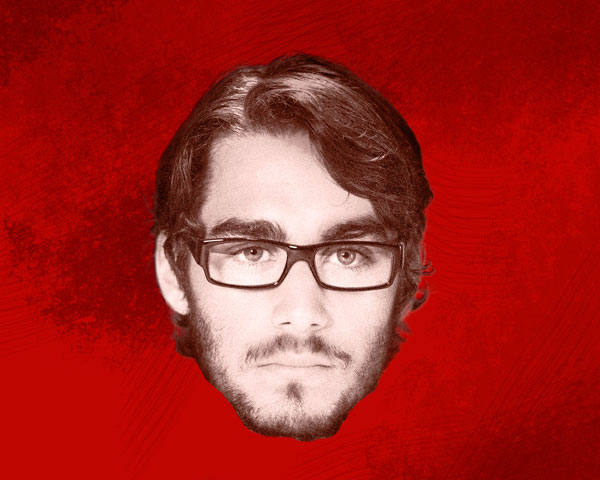
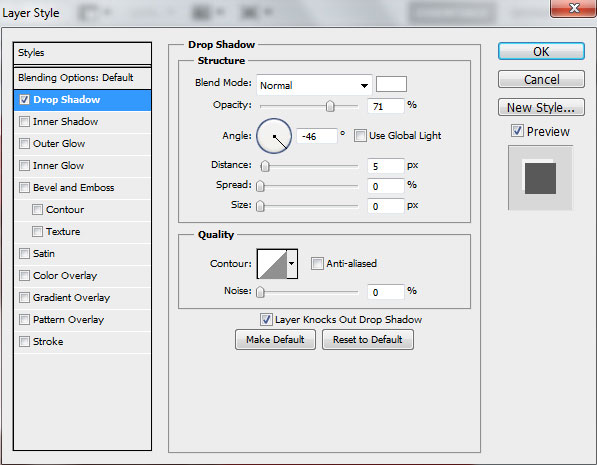
Click on Add a layer style icon from bottom part of the Layers panel and select Drop Shadow.
We’ve got the next result:
On the next new layer we’ll use the next brush from Old_paper_brushes_by_Annette29 set of white color.
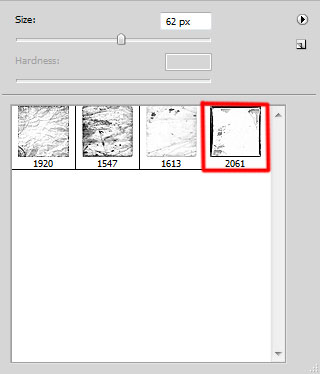
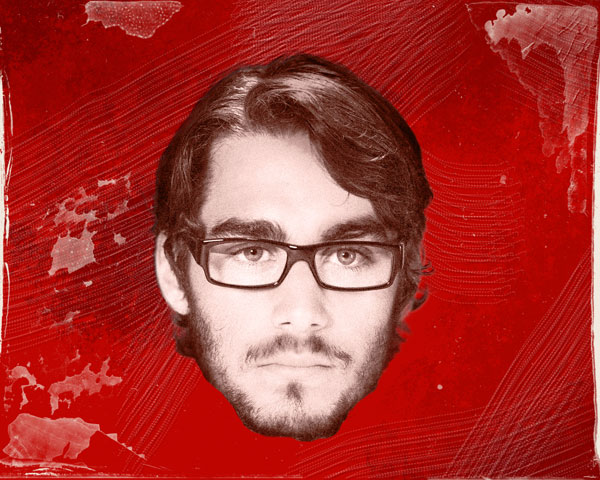
Use this brush to add some brushstrokes as shown and place this layer under the man’s one.
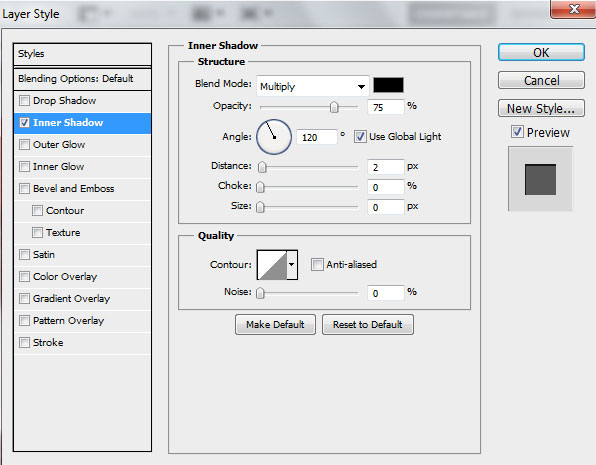
Click on Add a layer style icon from bottom part of the Layers panel and select Inner Shadow.
We’ve got the next result:

Create the next new layer, select the next brush from Old_paper_brushes_by_Annette29 set of black color.
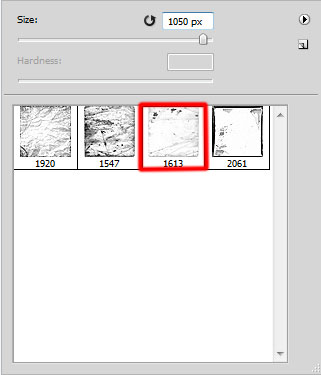
Add some brushstrokes as shown using this brush. The layer will be positioned under the man’s layer.
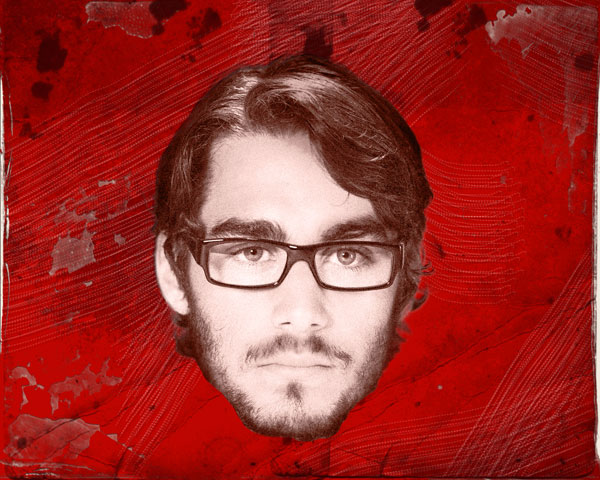
Set the Blending mode for this layer to Overlay.
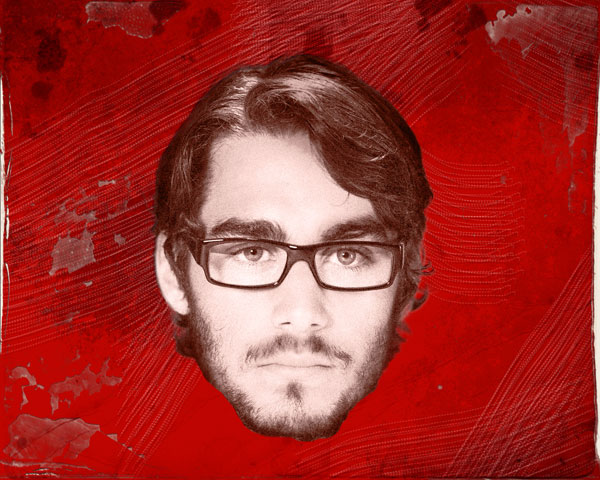
Create a new layer and choose the next brush from c130_splatter set. The brush have black color.
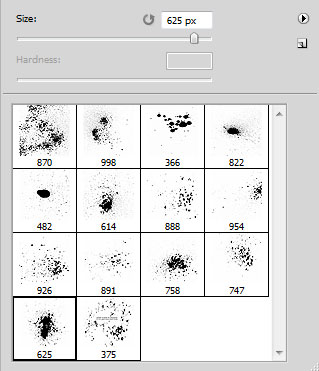
Use this brush to add some brushstrokes with different Opacity value to get the same effect as on the picture. Place this layer under the layer with the man on it.
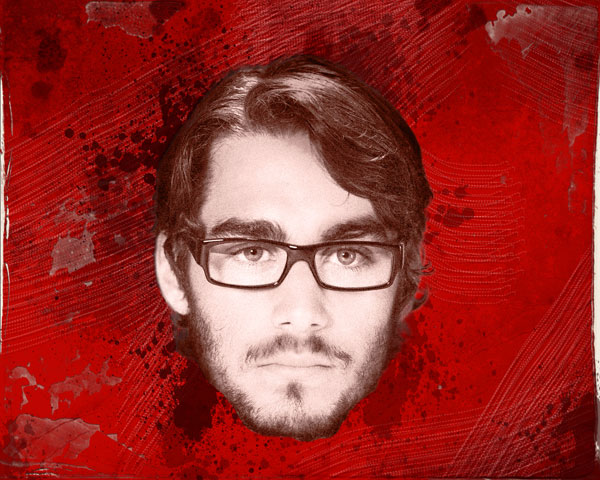
Create a new layer and use the same brush to add some brushstrokes behind the man with white color. Place this layer under the man’s layer.
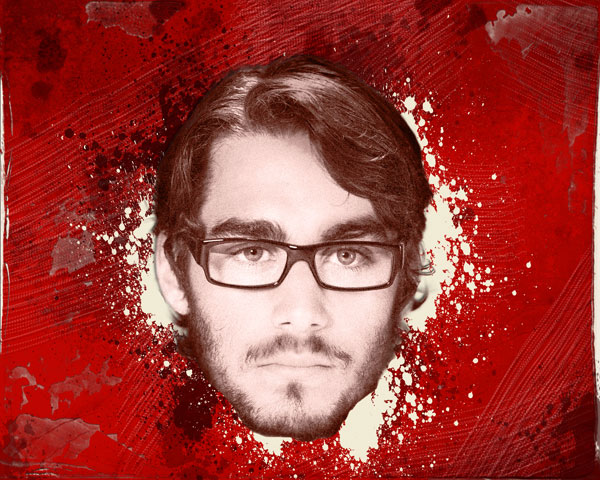
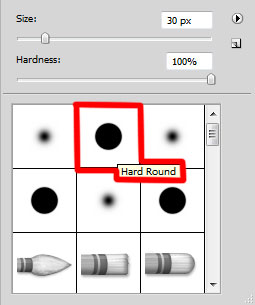
Create a new layer and select the Hard Round brush.
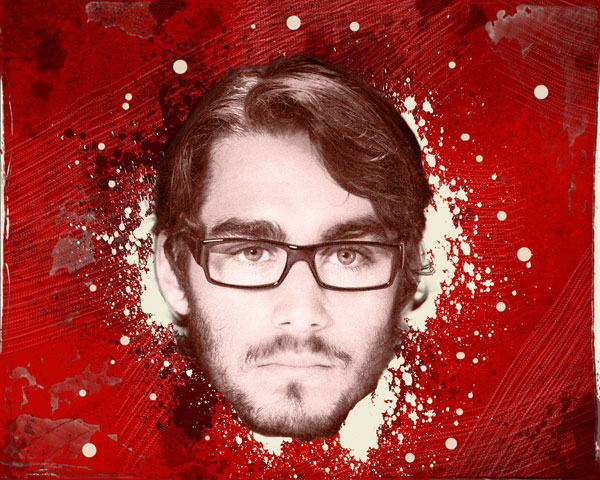
Use this brush to insert several white spots.

Set Fill to 90% for this layer and change the Blending mode for this layer to Lighter Color.
Create a new layer and use the Hard Round brush of black color (Opacity 80%) to add more several spots. Place the layer under the man’s one.
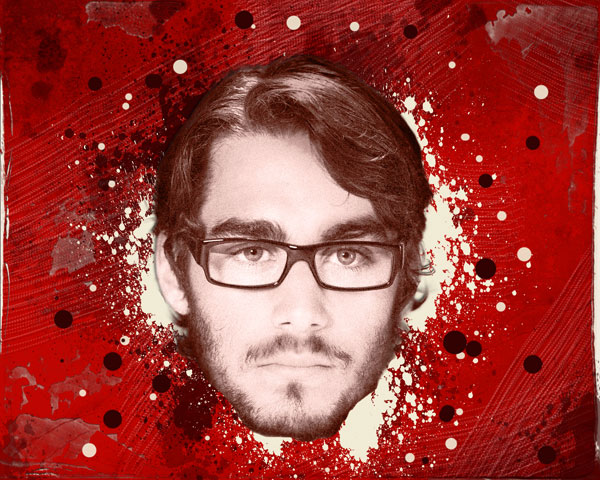
Set the Blending mode for this layer to Substract.

Next we have to create a new layer, select the next brush from Seu_Davi set and change the Foreground color to #CABCAB.
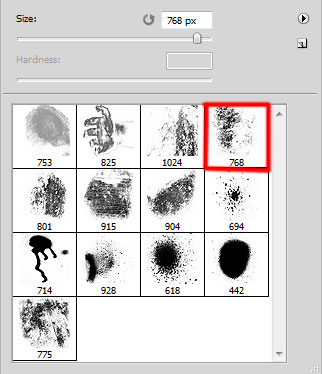
Use this brush to paint around man as shown. Place this layer lower than the man’s one.
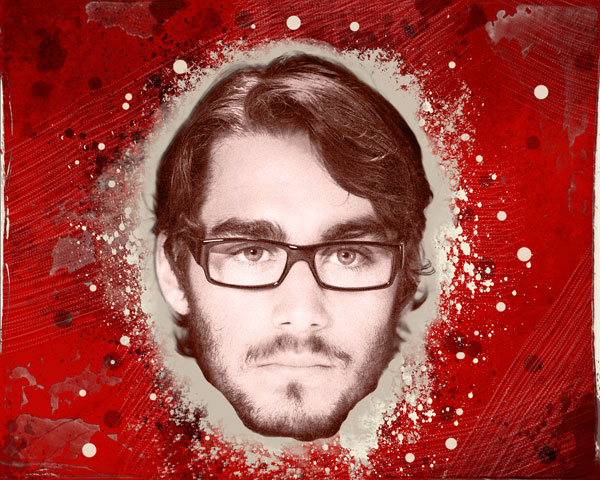
On the next new layer we’ll use again the Paint Bucket Tool (G) to fill the layer with #A57760 color. Place the layer above the man’s layer.

Apply on the last made layer the next filter: Filter>Noise>Add Noise.
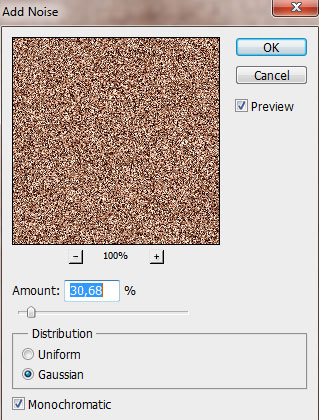
We’ve got the next result:
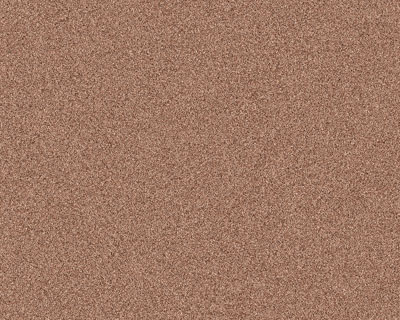
Set Fill to 30% for this layer and change the Blending mode for this layer to Hard Mix.

Create a new layer and select the Hard Round brush to represent the man’s blue eyes.

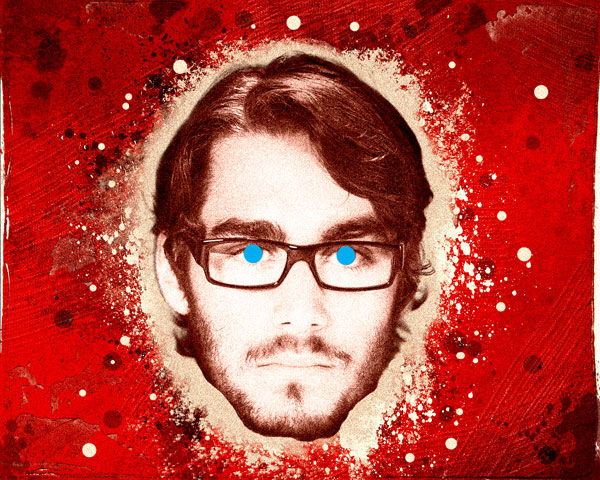
Set Fill to 50% for this layer and change the Blending mode for this layer to Color.

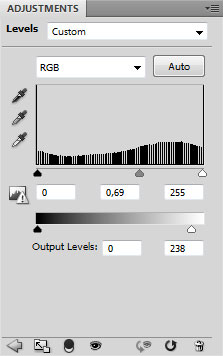
Click Create new fill or adjustment layer from bottom part of the Layers panel and click to Levels. Change the Grey input to 0,69 and the White output to 238.
We’ve got the next result:
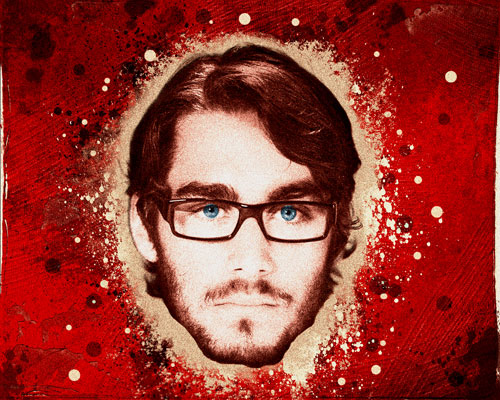
Create a new layer and fill it with #DEC59D color using Paint Bucket tool (G).

Set Fill to 44% for this layer and change the Blending mode for this layer to Multiply.

Create a new layer and choose Polygonal Lasso Tool (L) to represent the next selection on the right lowest corner.
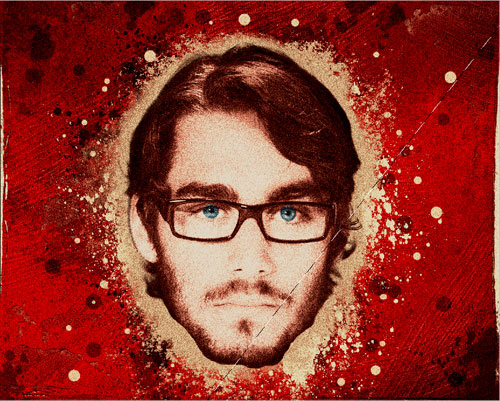
Choose Soft Round brush of the #FF7200 color and change the Opacity to 60% in Options bar.
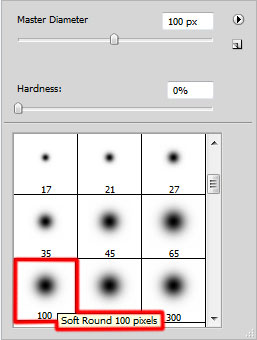
Use this brush to paint in the selection as shown.
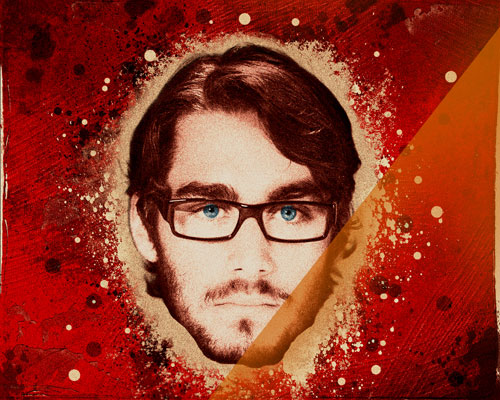
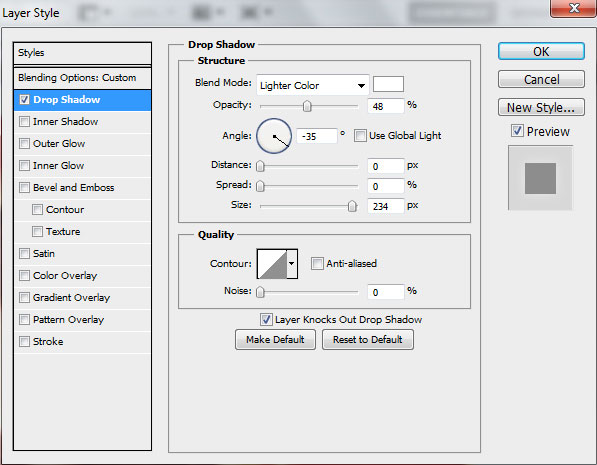
Set Fill to 45% for this layer and change the Blending mode for this layer to Linear Burn. Click on Add a layer style icon from bottom part of the Layers panel and select Drop Shadow.
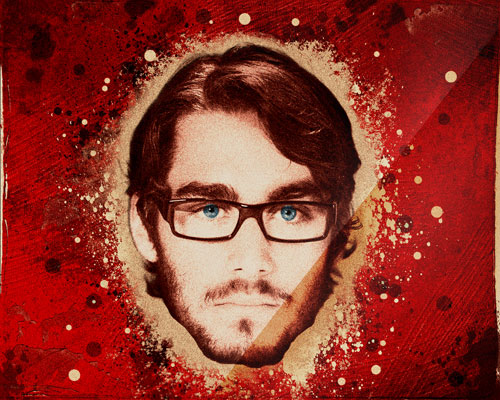
We’ve got the next result:
Create again a new layer, select the next brush from Seu_Davi set of white color (Opacity 80%).
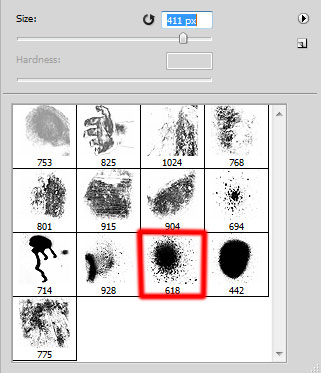
Use this brush to add a blot on the man’s forehead.
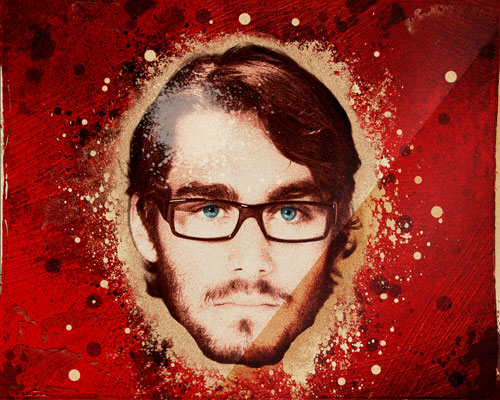
Set the Blending mode for this layer to Overlay.
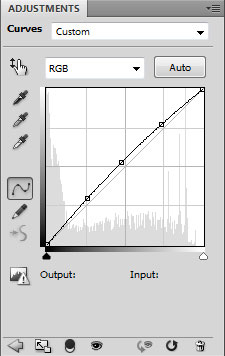
Click Create new fill or adjustment layer from bottom part of the Layers panel and click to Curves to adjust the curve shape as shown to make a little color corrections.

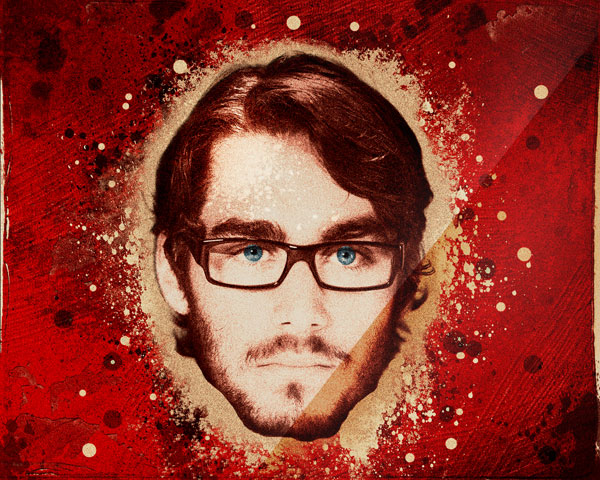
The final result!
View full size here.


.jpg)


