


Step 1
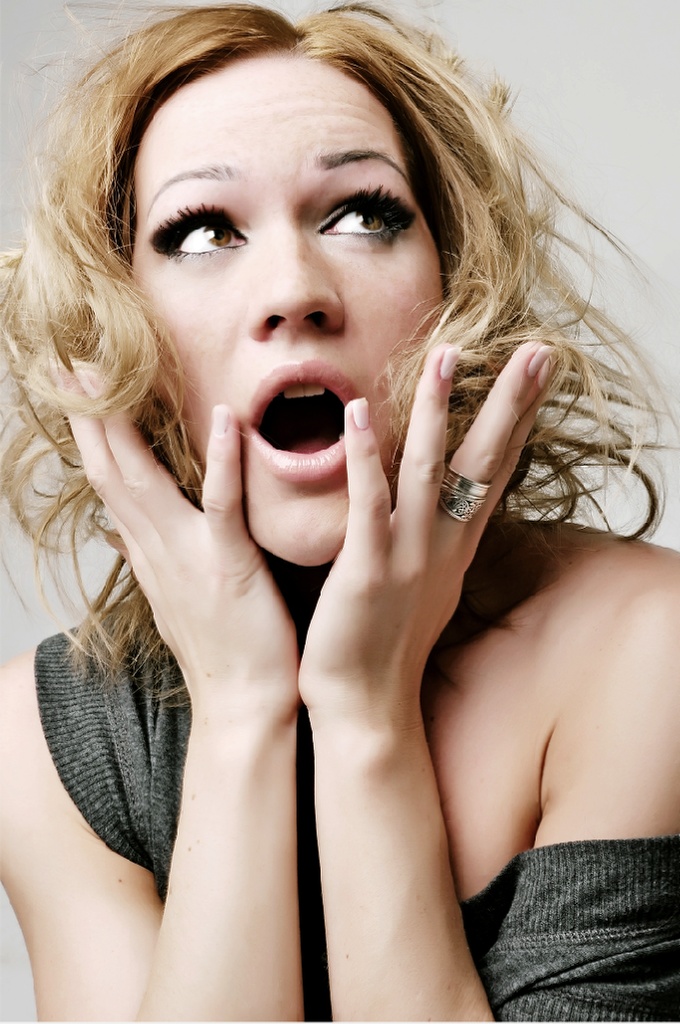
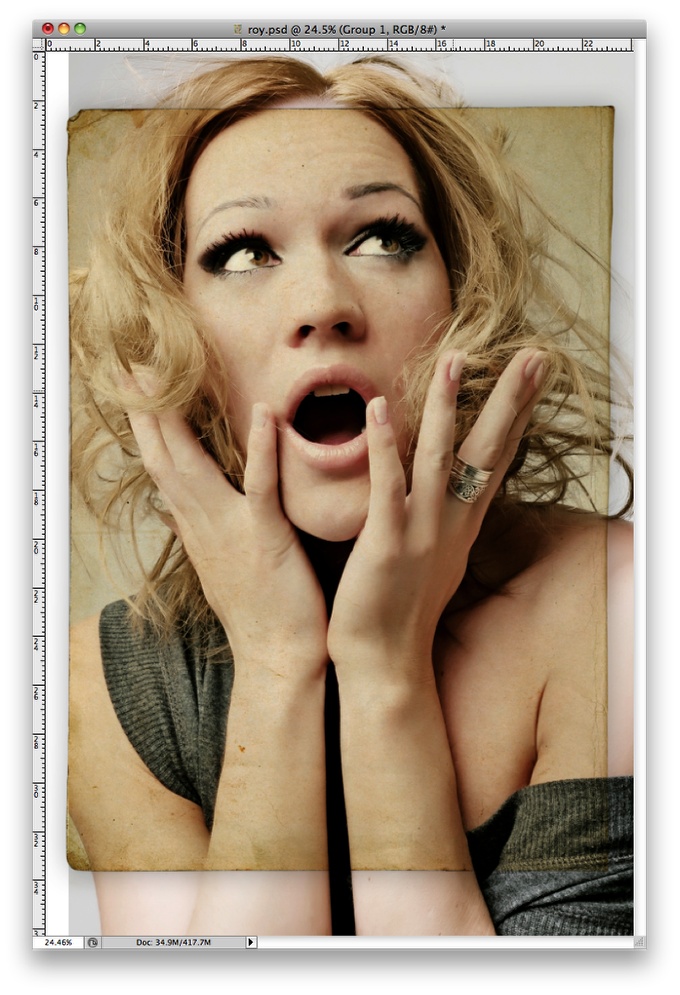
Let's start the tutorial in Illustrator. Open Illustrator and import the photo you will apply the effect. The one I'm using is courtesy of Shutterstock and you can find it here.
Step 2
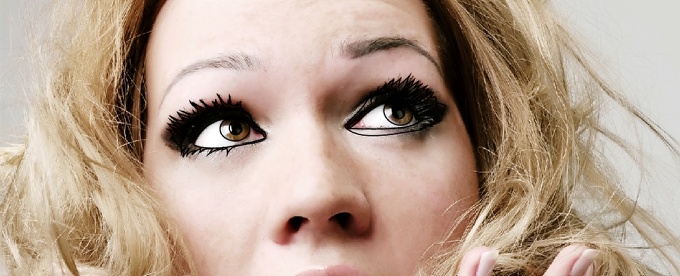
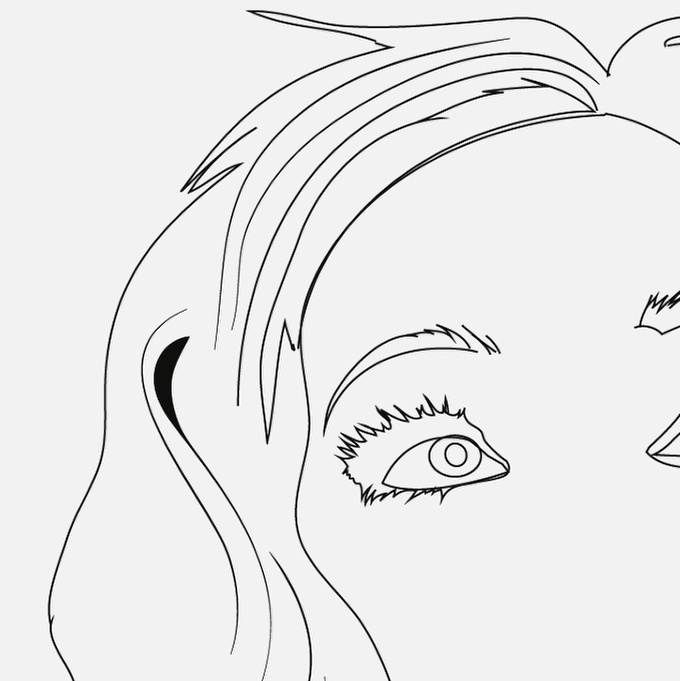
In Illustrator, select the Pencil Tool (N) and start drawing over the photo using it as references. I started off with the eyes. I also use the Ellipse Tool (L) for the pupils.
Step 3
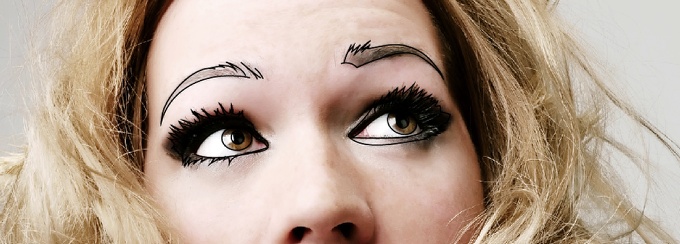
Keep drawing with the Pencil Tool (N) and with the Pen Tool (P) when you need more precision, however it doesn't need to be super perfect.
Step 4
With the Pencil Tool (N) create the contour of her hair.
Step 5
Stll with the Pencil Tool (N) add some details for her hair.
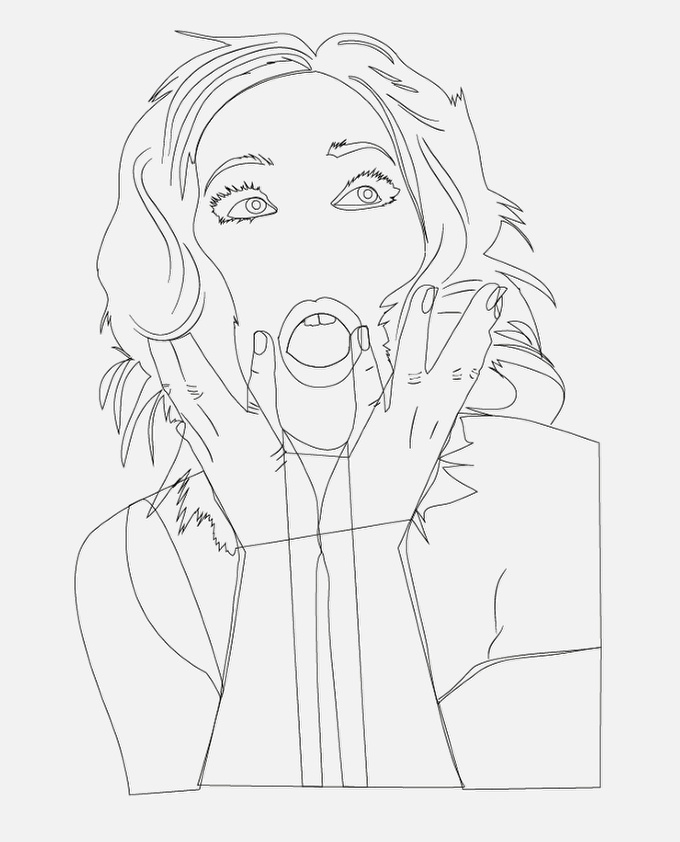
Step 6
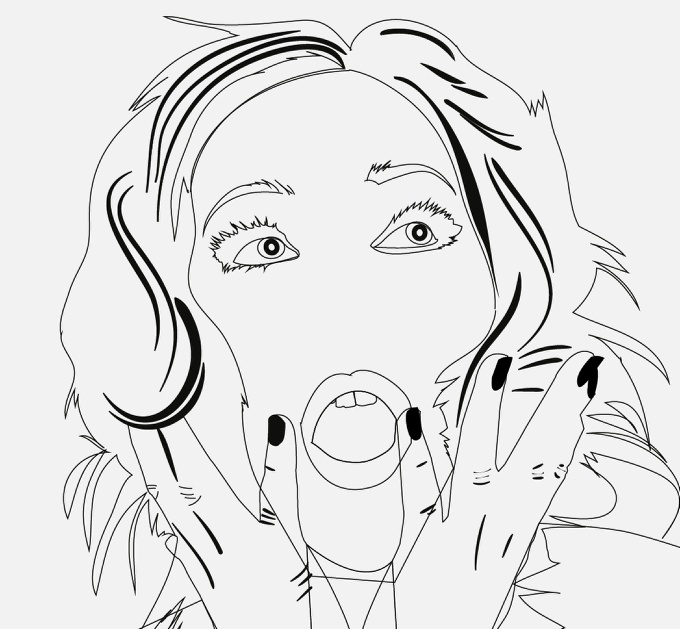
Here I have all the vector elements I drew to create the girl. You can add more if you want, it will depend on the photo you are using.
Step 9
Get rid of the photo and start playing with the vectors only. Here you can see all the elements without any color and the same stroke size.
Step 10
One of the best tools in the Illustrator CS5 is the Width Tool (Shift+W). You can change the width of parts of the stroke, it's fantastic.
Step 11
Still with the Width Tool (Shift+W) play with the strokes on her hair and hands. Use the image below for reference.
Step 12
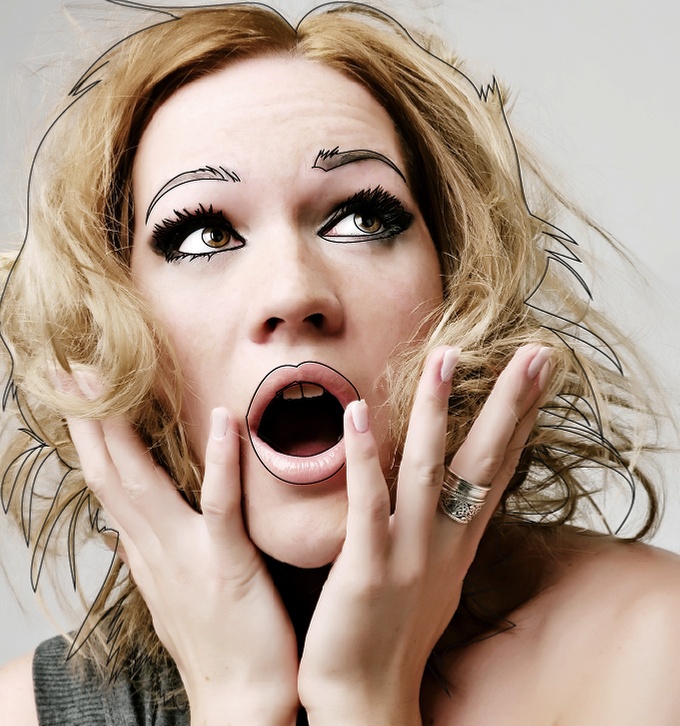
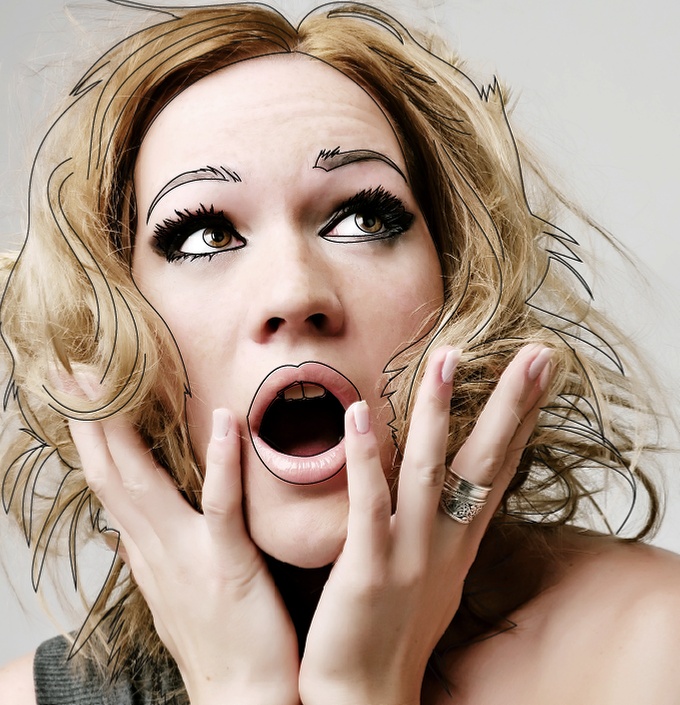
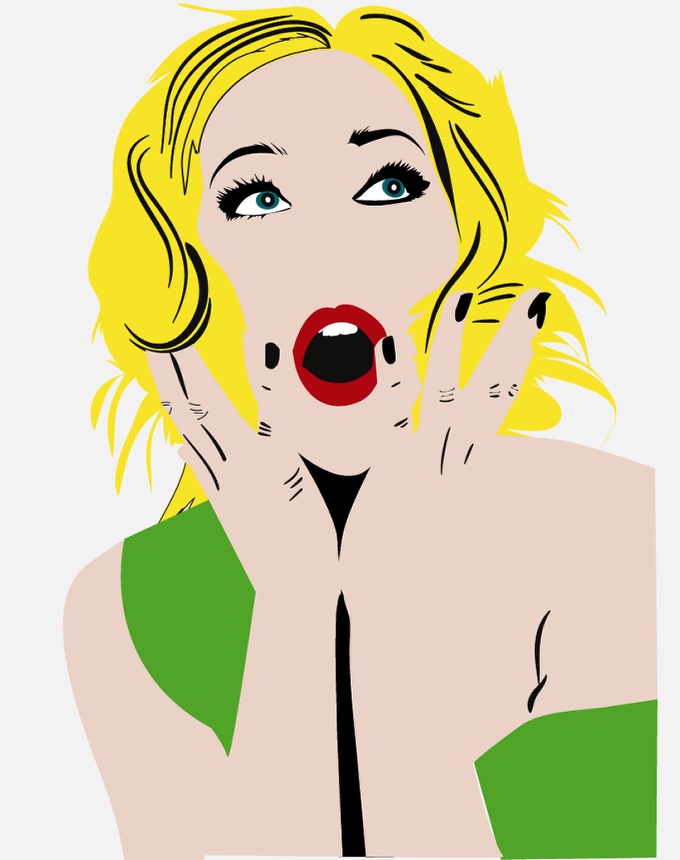
Time to add some colors. I used beige for the skin, yellow for the hair, white for the eyes and black for the details. For her blouse I used green.
Step 13
Now let's go to Photoshop. Open Photoshop and import a paper texture to use for reference. The one I'm using is courtesy of Shutterstock and you can find it here.

Step 14
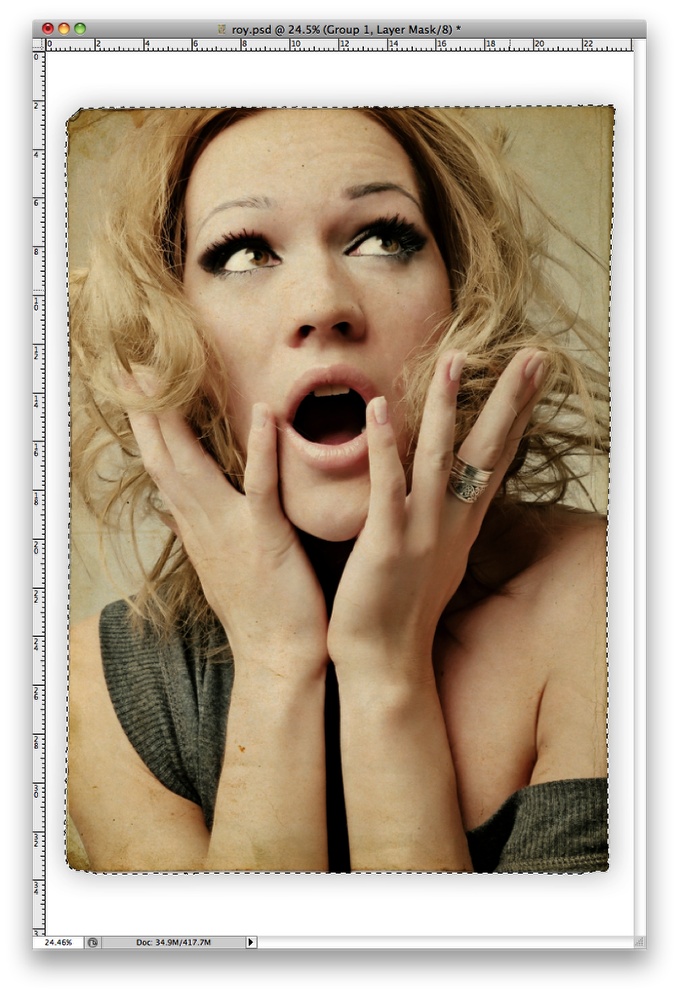
Import the girl photo too. We will use it for reference for the vectors from Illustrator. It will also be used to create the halftones. Also change the Blend Mode of the layer to Multiply.
Step 15
Mask the photo of the girl so it will be over the paper area only. The best way to do that so we can use the same mask for other layers is to create a group and mask the group in Photoshop.
Step 16
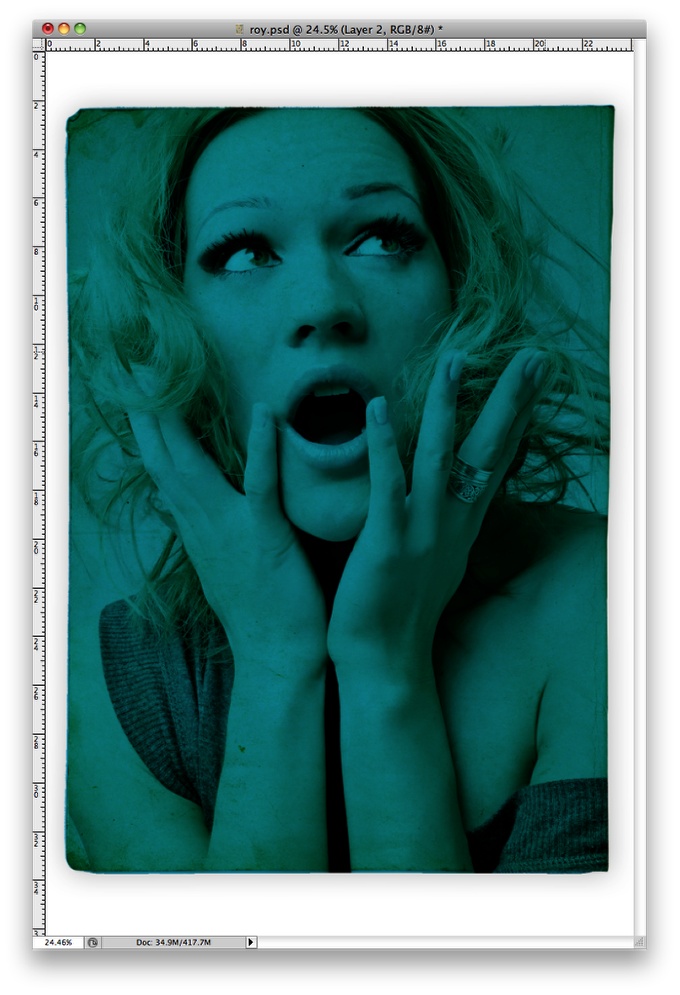
Add a new layer beneath the layer girl but still inside the folder with the mask. Change the Blend Mode of the new layer to Multiply and fill it with Cyan.
Step 17
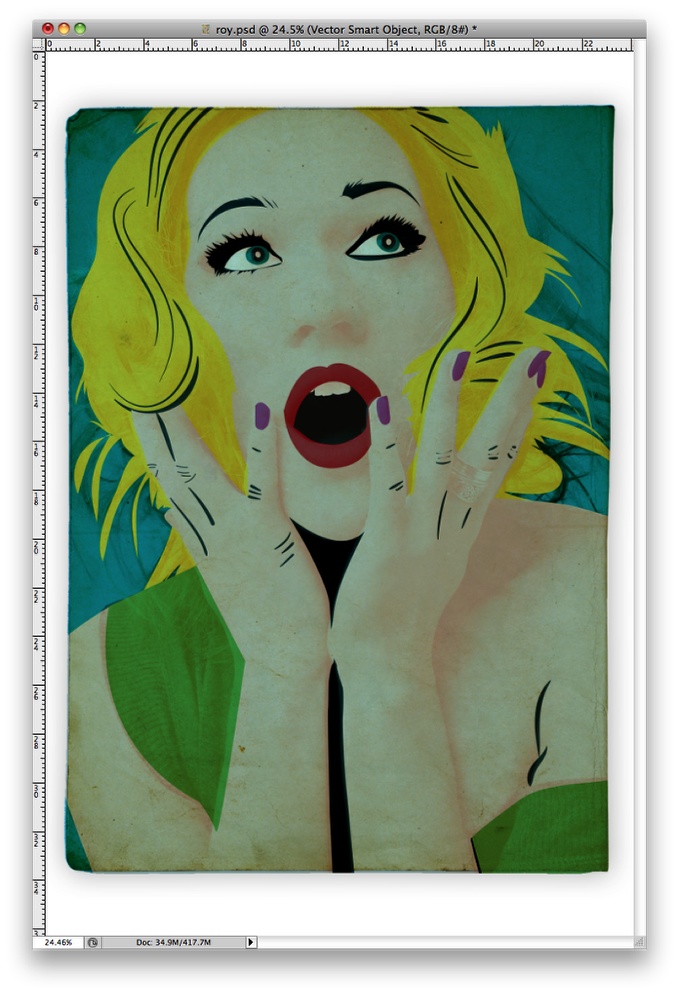
Copy the vectors from Illustrator and paste them in Photoshop. I used Smart Objects for the option when paste it because that way I can change the vectors anytime I want and see the results in Photoshop. As you can see in the image below I changed the Opacity of the Layer to 70% so I can adjust the position more easily .
Step 18
Once you find the right alignment change the opacity back to 100%.
Step 19
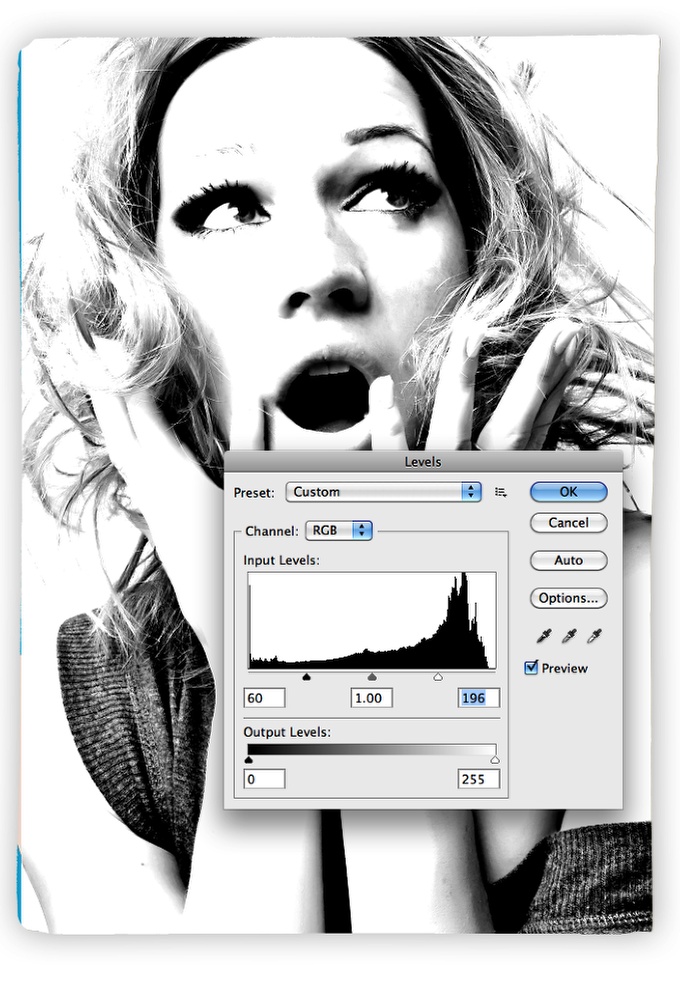
Reorder the layers so the photo of the girl is on top of the vector layer. After that go toImage>Adjustments>Desaturate. You will have a black and greyscale photo now. After that go toImage>Adjustments>Levels. Change the Black Inputs to 60 and the White Inputs to 195. After that change the Blend Mode to Multiply.
Step 20
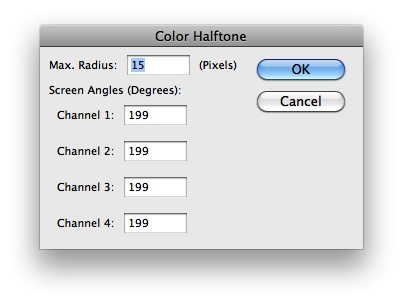
Go to Filter>Pixelate>Color Halftone. Use 15 for the Max. Radius and 199 for the channel values. Tip: Depending on the size of your design the Max. Radius will have to be different.
Step 21
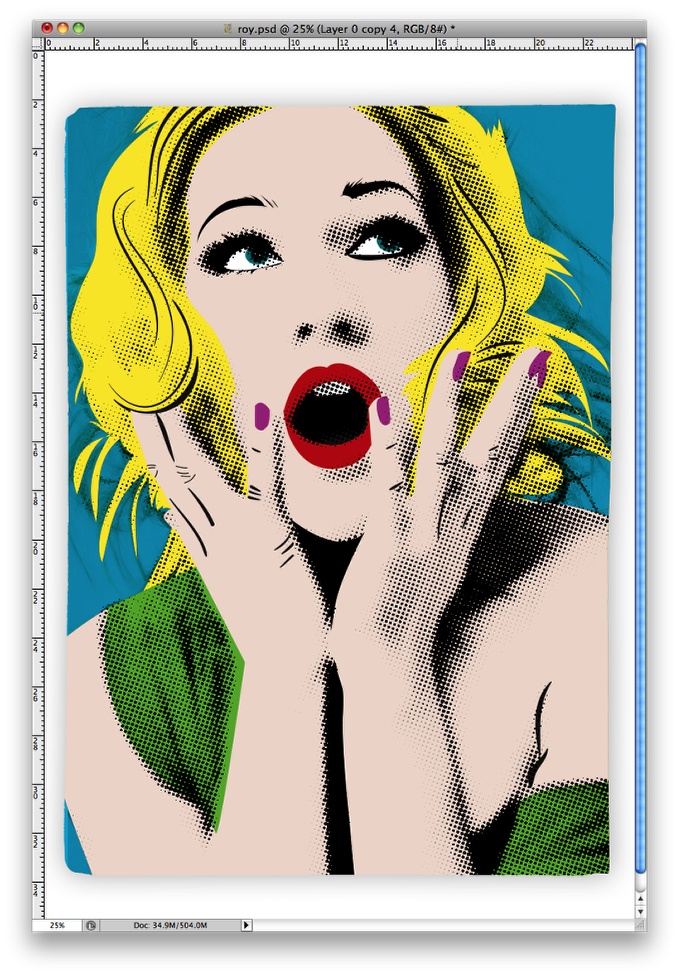
Here is the image after the halftone filter. It's almost done but there are a few details to work on so the image gets that old/vintage look. Also the halftones are over the teeth and the eyes so we have to fix that.
Step 22
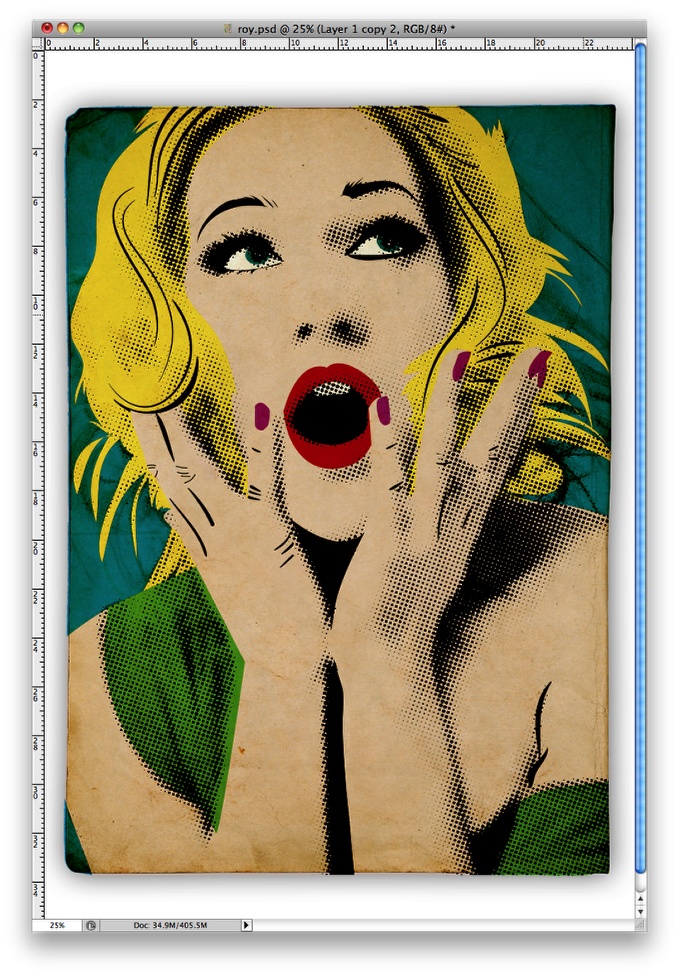
Duplicate the paper layer and just move it on top of the others. After that Change the Blend Mode to Linear Burn.
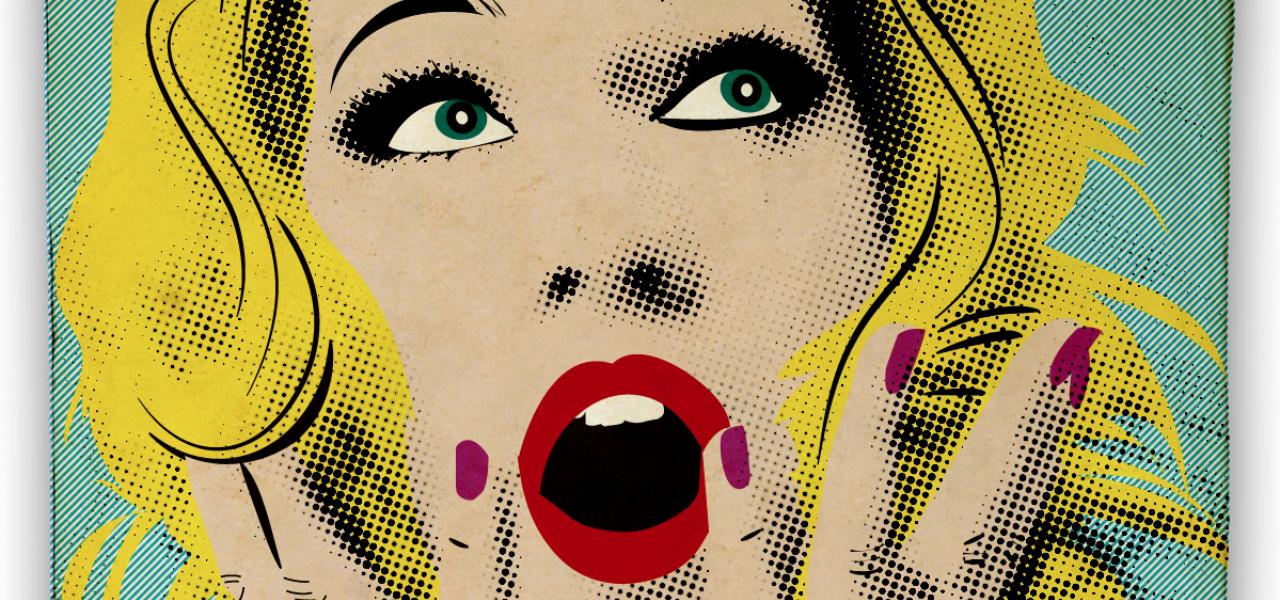
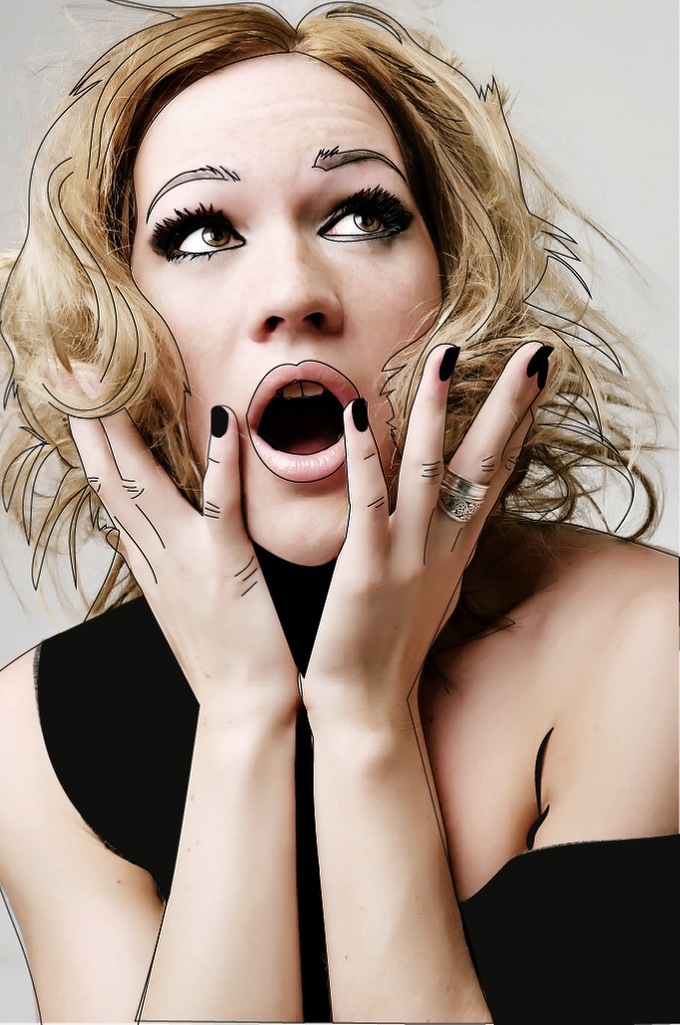
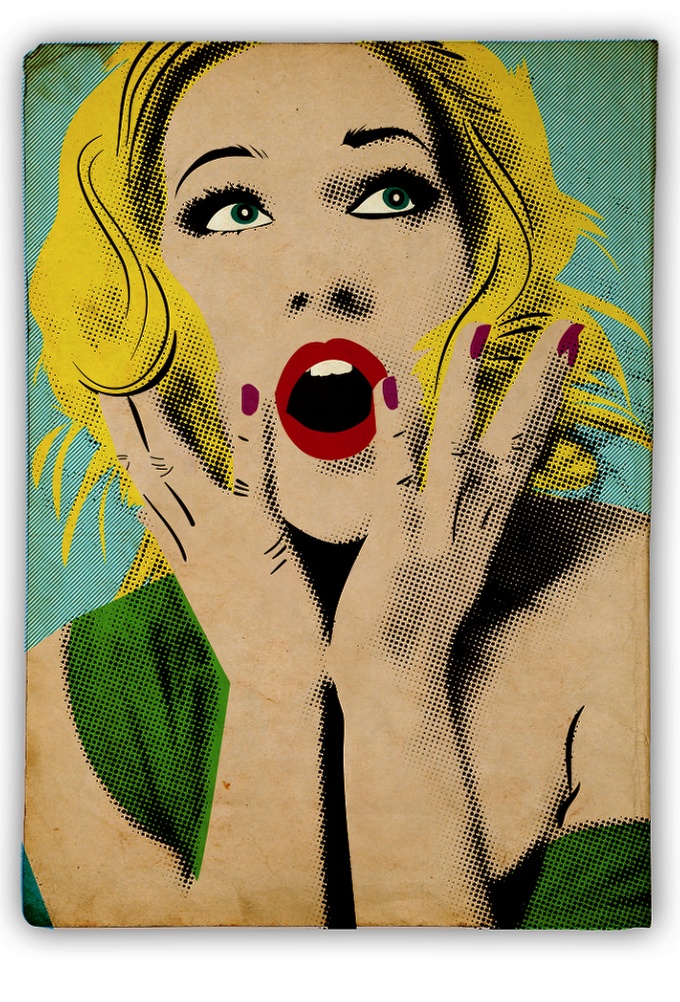
Conclusion
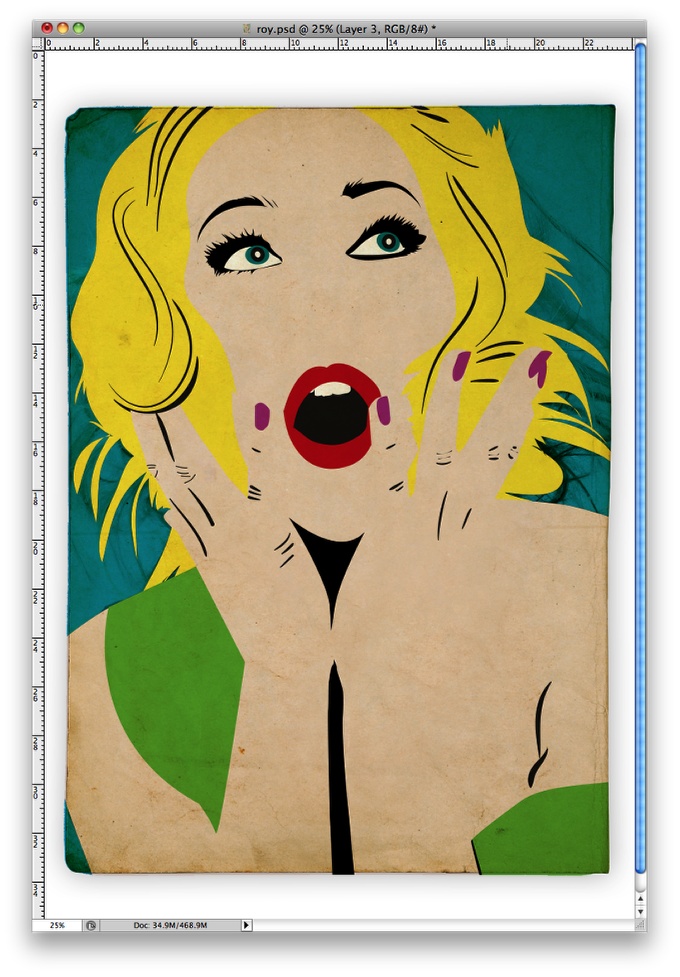
Here is the final design. As you can see I clean the halftones over her eyes and mouth and also added a diagonal pattern in the background.
This design was just an experiment using halftones to create a Roy Lichtenstein inspired design. I'm working on some new designs where I go a little bit further with this technique, but as you could see, the halffones and the vectors with the paper textures do a pretty decent job in recreating Roy's incredible style.

.jpg)


