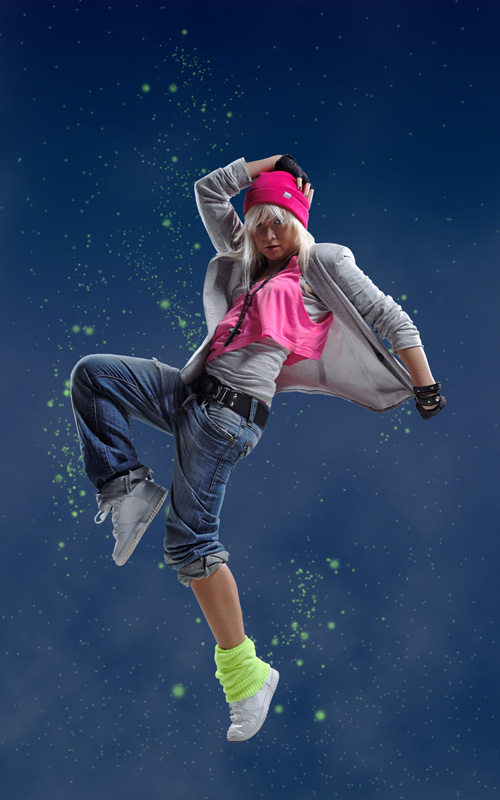
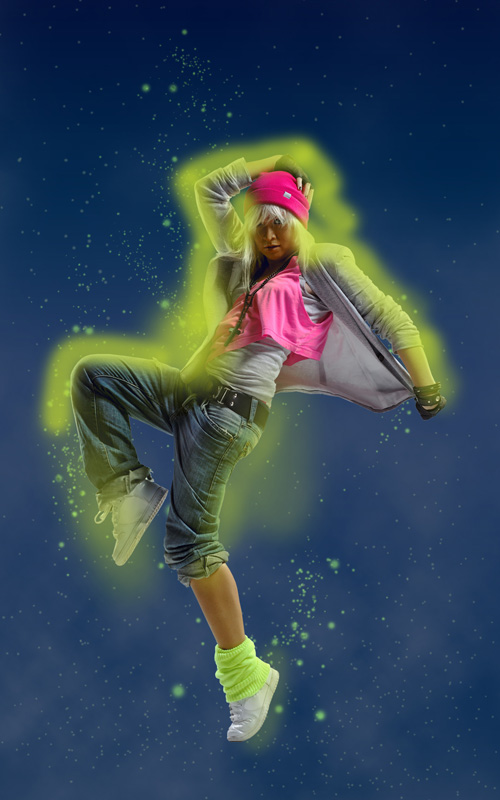
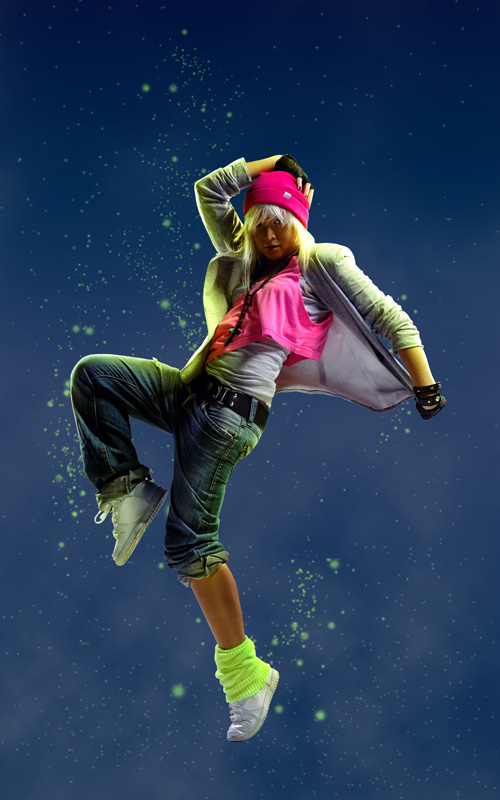
Final Image Preview
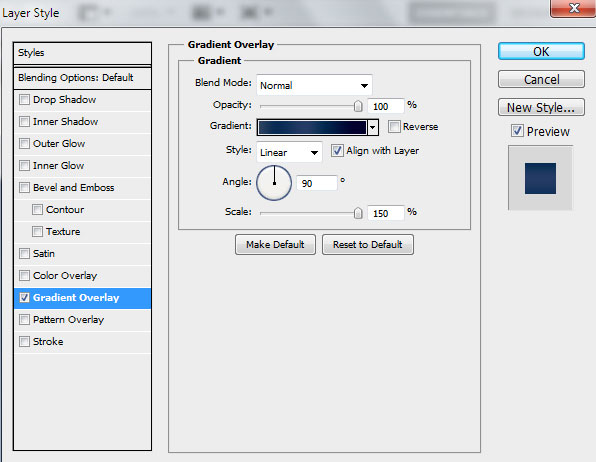
Start working by creating a new document (Ctrl+N) in Adobe Photoshop CS5 with the size 1050px by 1680px(RGB color mode) at a resolution of 72 pixels/inch. Click on Add a layer style icon from bottom part of theLayers panel and select Gradient Overlay.
Blending Options>Gradient Overlay
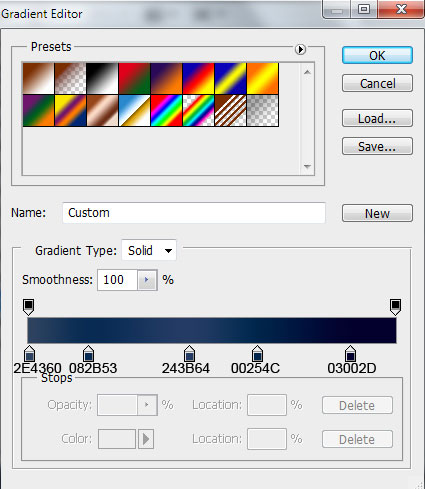
Click in the color bar to open the Gradient Editor and set the color stops as shown. Click OK to close theGradient Editor dialog box.
We’ve got the next background:
Create a new layer and select the Paint Bucket Tool (G) to fill the new layer with #3B4E6C color.
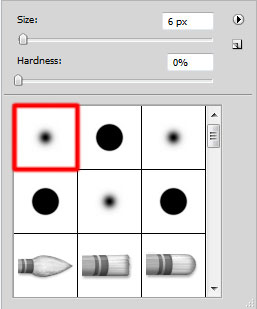
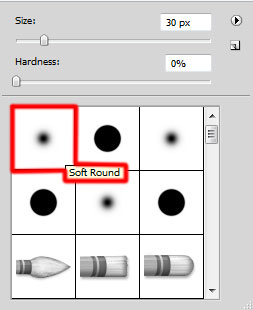
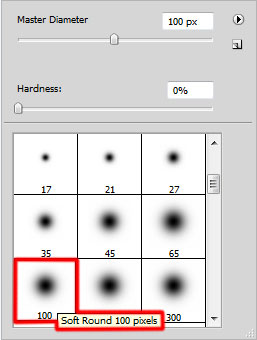
Insert the mask on the layer by choosing Add layer mask on the bottom part of the Layers panel and select after that Filter>Render>Clouds. Select after that the Soft Round brush from Brush Tool (B).
Paint in the mask using this brush to clean up the top part of the canvas as shown. The brush’s color is black.
Create a new layer and select the Soft Round.
Use this brush to represent many dots with #536874 color.
ind a stock photo with a model represented on it, I used this photo from Shutterstock. I would like to thank theauthor of this photo, or if you prefer, you can substitute similar image of your own.
Remove the background using your favorite tools like Pen Tool (P), Magic Wand Tool (W), Magnetic Lasso (L) or even a simple Filter>Extract and insert it on a new layer in our main document.
Create the next new layer on which we’ll use again the Soft Round brush.
Use this bush to insert more dots of green color. Place the layer under the layer containing the model’s image (on the Layers’ panel).
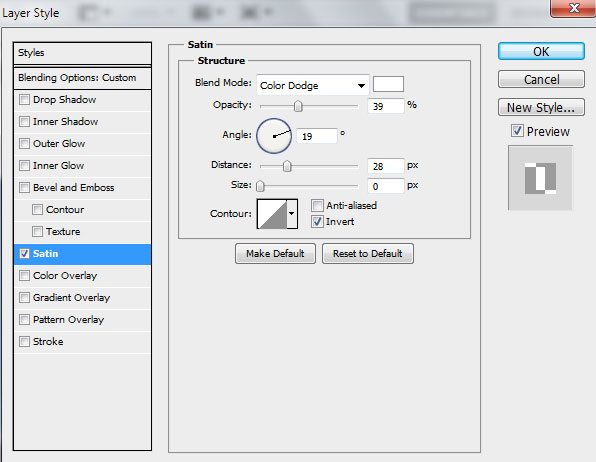
Set Fill to 48% for this layer and click on Add a layer style icon from bottom part of the Layers panel and select Satin.
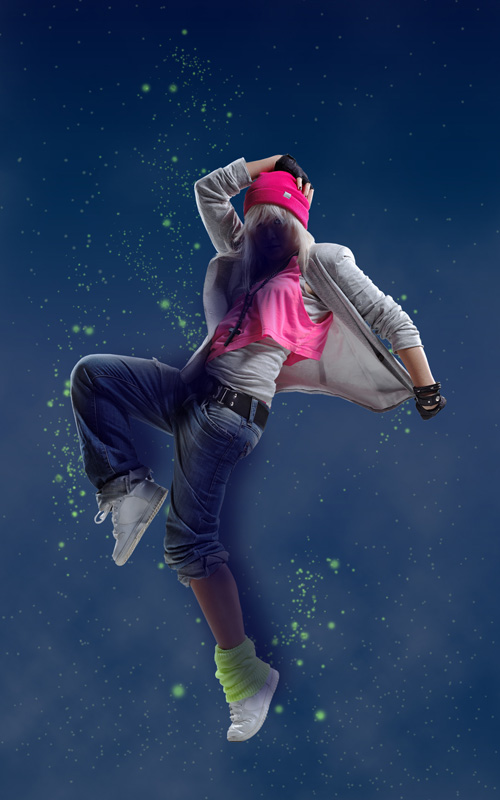
We’ve got the next result:
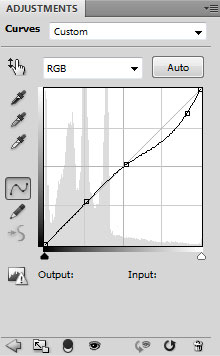
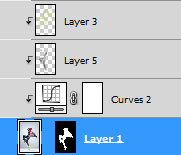
Make sure now that the layer with the model is selected and click on the bottom part of the Layers panel toCreate new fill or adjustment layer, select from the list Curves.
Adjust the curve shape as shown to make a little color corrections.
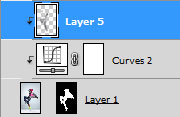
Hold down Alt (Windows) or Option (Mac OS) and click between the model’s layer and the Curves adjustment layer in the Layers panel to create a clipping mask.
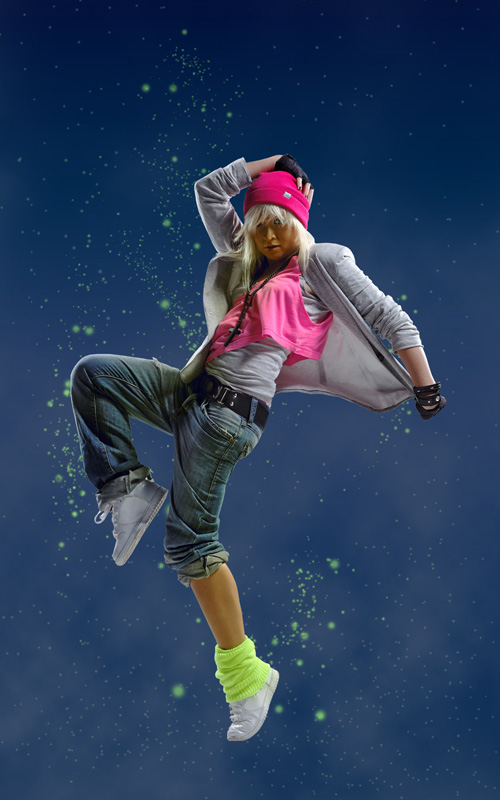
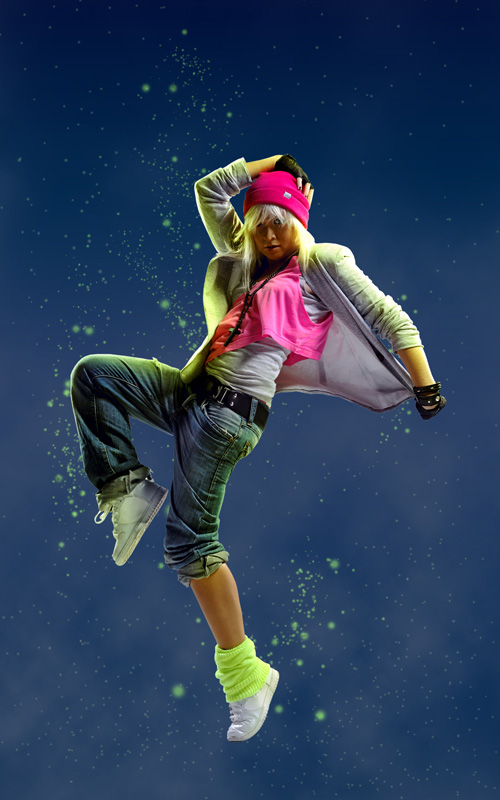
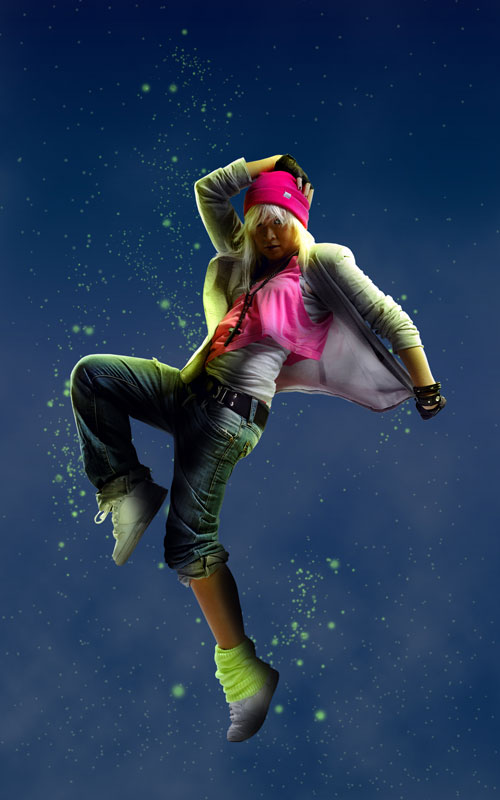
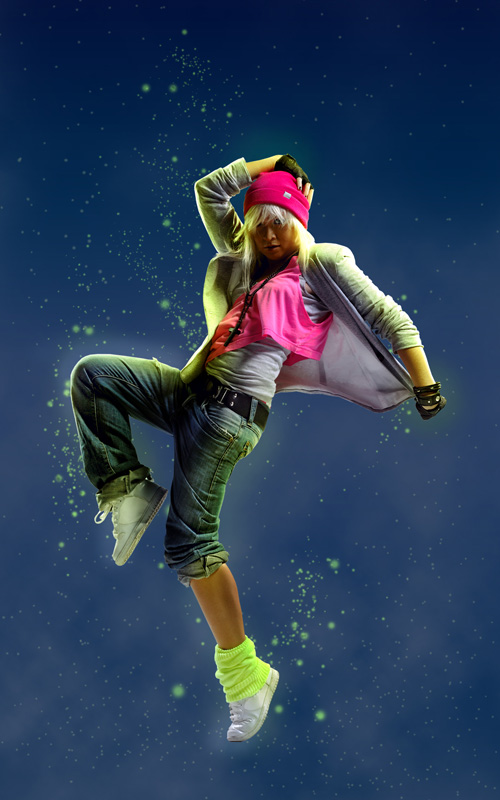
We’ve got the next result:
Create a new layer and select the Soft Round brush.
Use this brush to paint on the model certain places as shown. The brush’s color is #070424 (set Opacity to 40%in Options bar).
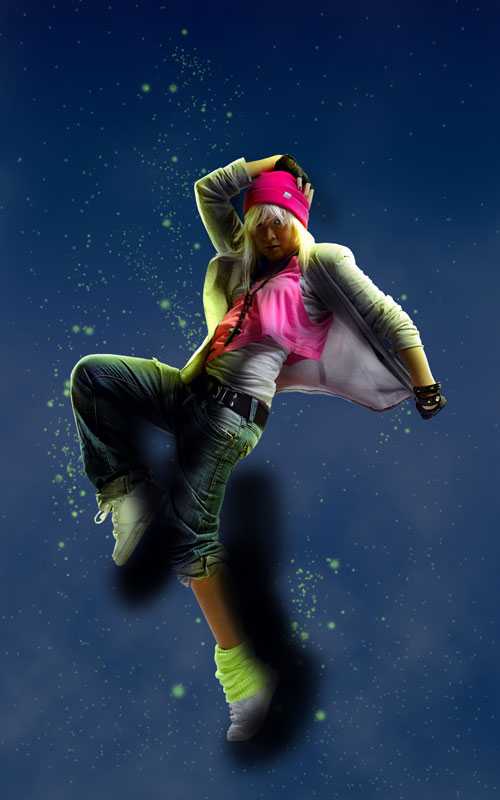
We’ve got the next result:
Set the Blending mode for this layer to Difference.
Create a new layer and use here the earlier mentioned Soft Round brush.
Use this brush to paint the model on the indicated positions as shown. The brush’s color is #E0FF4C (brushOpacity – 40%).
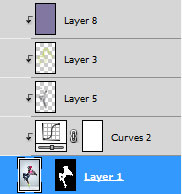
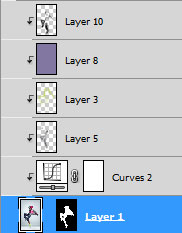
Hold down Alt (Windows) or Option (Mac OS) and click between layers in the Layers panel to create aclipping mask.
We’ve got the next result:
Set Fill to 50% for this layer click on Add a layer style icon from bottom part of the Layers panel and selectVivid Light.
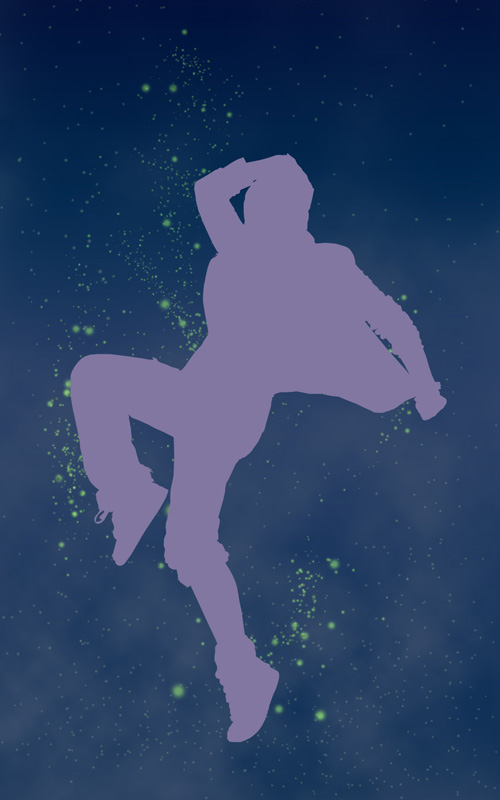
Create new layer and use the Paint Bucket Tool (G) to fill it with #8177A1 color.
Hold down Alt (Windows) or Option (Mac OS) and click between layers in the Layers panel to create aclipping mask.
We’ve got the next result:
Set Fill to 12% for this layer click on Add a layer style icon from bottom part of the Layers panel and selectHard Mix.
Create a new layer and select for it the Soft Round brush mentioned earlier of black color to represent shadows on the model. Apply a different Opacity value.
Hold down Alt (Windows) or Option (Mac OS) and click between layers in the Layers panel to create aclipping mask.
We’ve got the next result:
Set Fill to 87% for this layer click on Add a layer style icon from bottom part of the Layers panel and selectSoft Light.
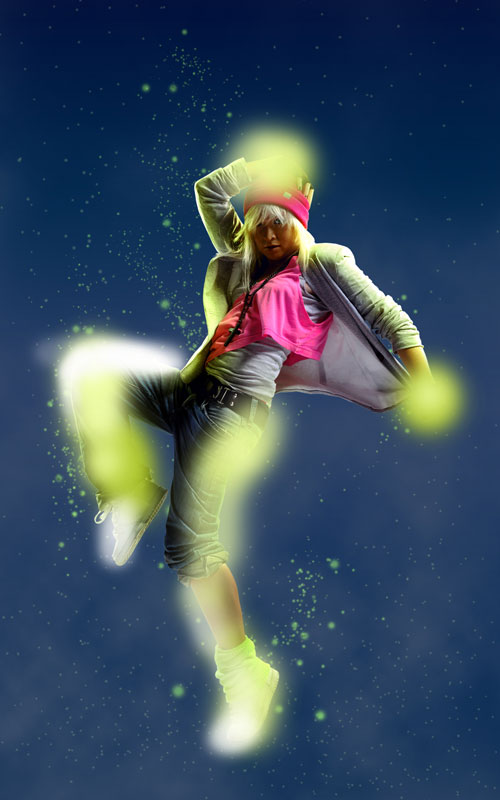
Create a new layer and paint with the Soft Round brush the indicated positions on the model’s body.
The brush is of white color and yellow one with different brush Opacity value.
Set Fill to 45% for this layer click on Add a layer style icon from bottom part of the Layers panel and selectSoft Light.
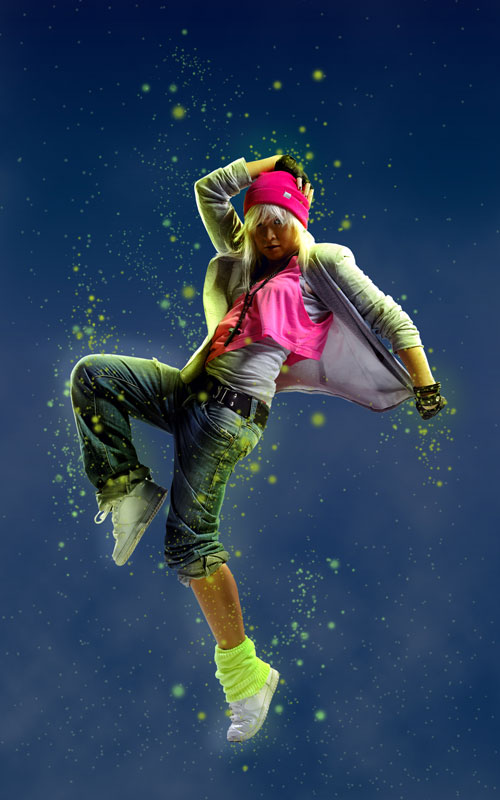
Create again a new layer, using here the same Soft Round brush for representing many dots of different diameters.
The brush is of #849C3E color.
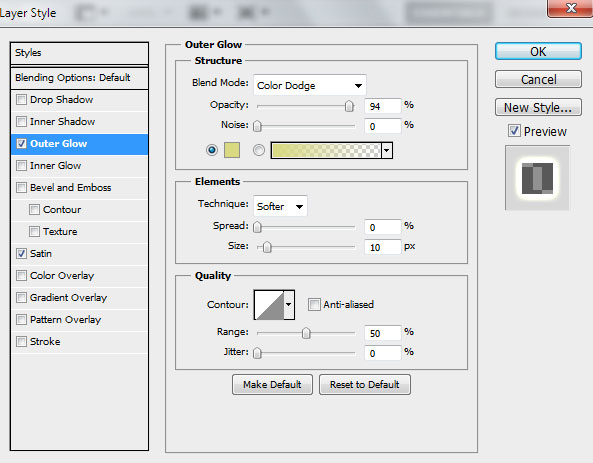
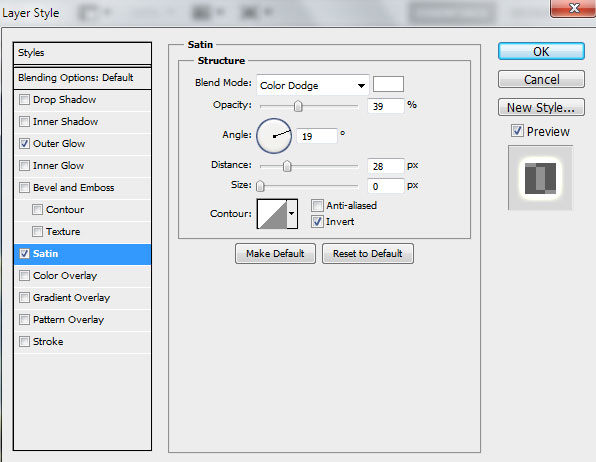
Click on Add a layer style icon from bottom part of the Layers panel and select Outer Glow.
Add Satin
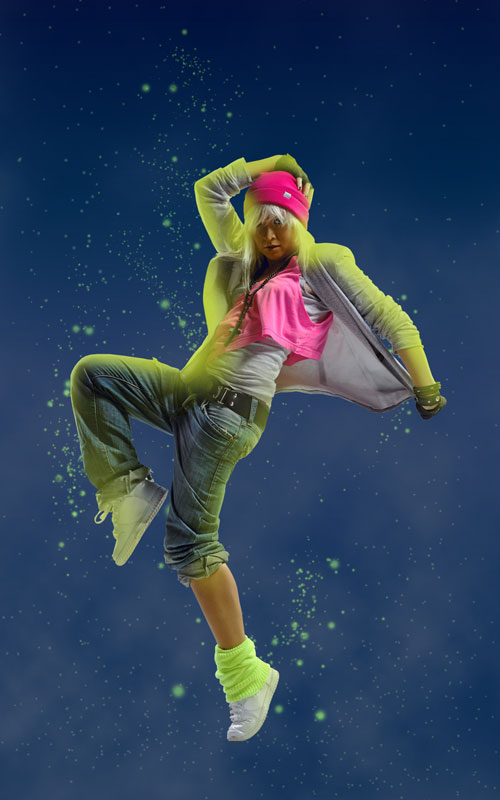
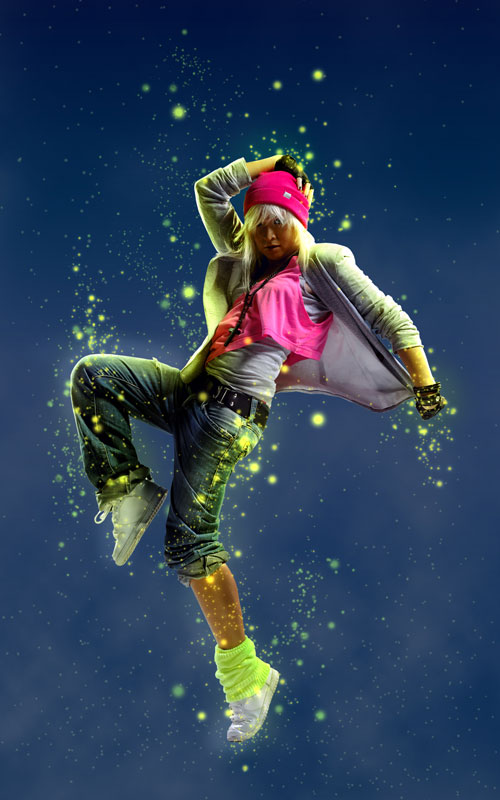
We’ve got the next result:
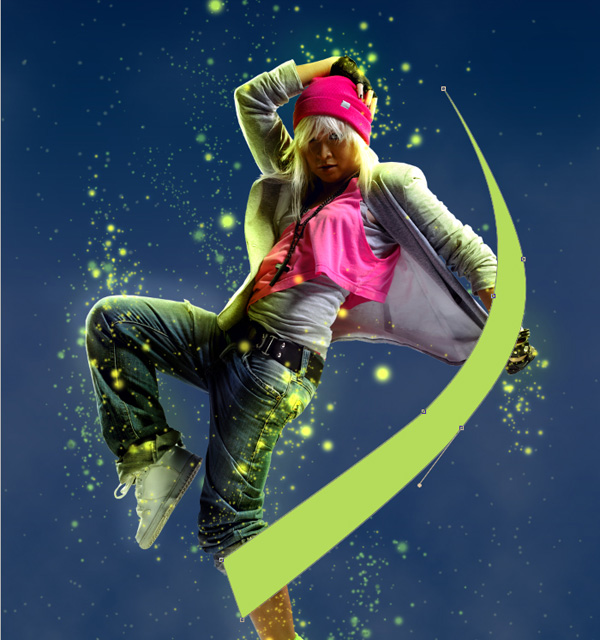
Choose the Pen Tool (P), set the drawing mode on Shape Layers in Options bar and draw the next shape of#B5DC5B color as shown.
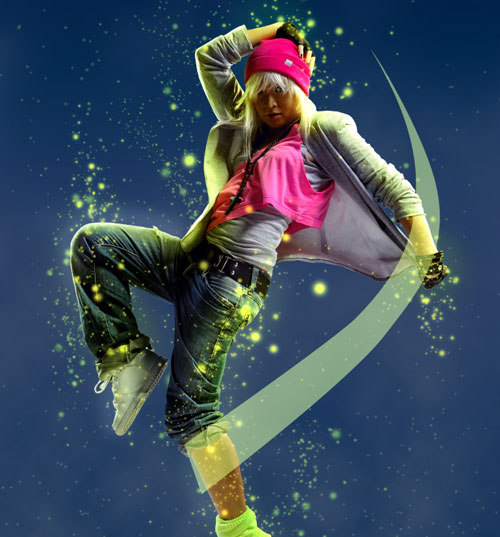
Set Fill to 63% for this layer and change the Blending mode to Screen.
Use also the previous tools to represent one more shape of the same color. Set Fill to 43% for this layer and change the Blending mode to Screen.
Using the same tools (Pen Tool (P)) we have to represent the third shape of the color #76E4FF.
Set Fill to 36% for this layer and change the Blending mode to Linear Dodge.
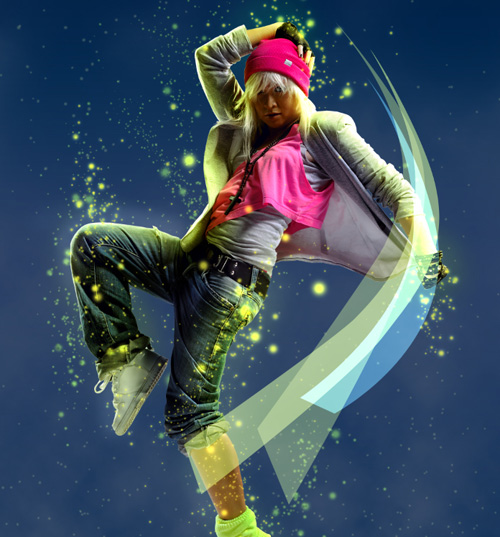


Insert the mask on the layer by choosing Add layer mask on the bottom part of the Layers panel and choose the Soft Round brush of black color.
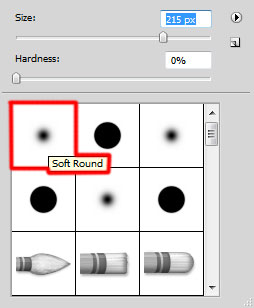
Use this brush to paint in the mask to clean up the central part of the canvas, leaving shadowy only the edges.

Combine in a group all the layers (press CTRL button to select the necessary layers and hold on the left mouse’s button while dragging the selected layers on Create a new group icon from bottom part of the Layers panel).
Make a copy of the got group. Rasterize te group’s copy (press CTRL+E to Merge Down). Apply on the rasterized layer the next filter Filter > Blur > Gaussian blur.
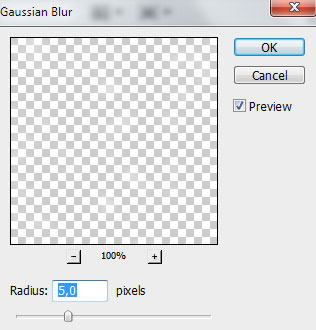
We’ve got the next result:

Set Fill to 29% for this layer click on Add a layer style icon from bottom part of the Layers panel and selectLinear Dodge.
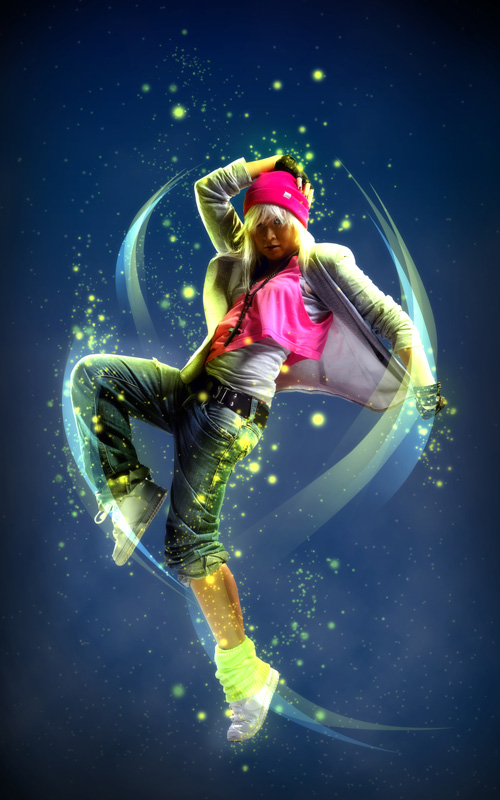
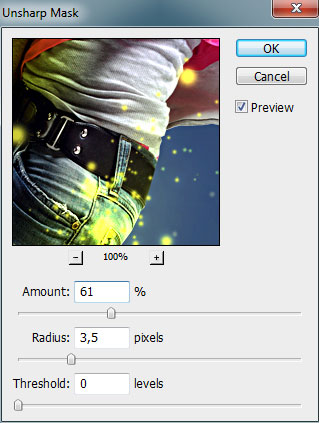
Put together all the layers (including the rasterized layer of the group’s copy and the main group, rasterizing it also preliminary). Apply on the rasterized layer the next filter Filter > Sharpen > Unsharp mask:
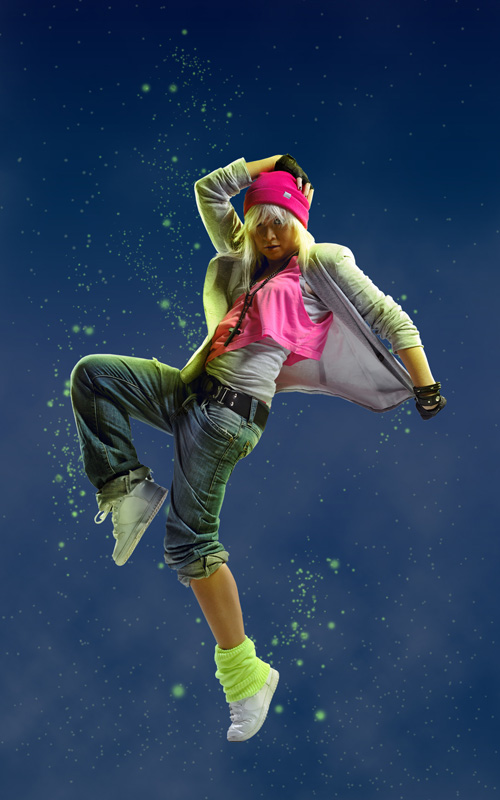
We’ve got the next result:

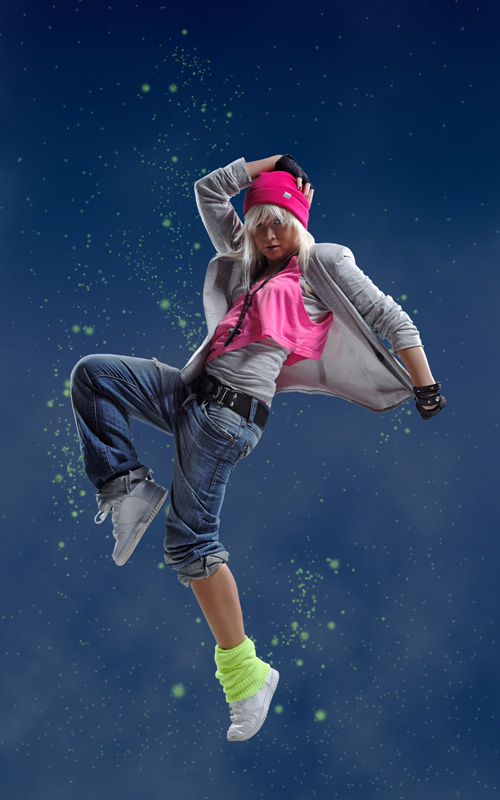
Our Dynamic Lighting Effect Using Custom Brushes in Photoshop CS5 is finished!
















.jpg)


Pretty good post. I just stumbled upon your blog and wanted to say that I have really enjoyed reading your blog posts. Any way I'll be subscribing to your feed and I hope you post again soon. Big thanks for the useful info. fotoposter
This particular is usually apparently essential and moreover outstanding truth along with for sure fair-minded and moreover admittedly useful My business is looking to find in advance designed for this specific useful stuffs… photo editor posters